Free Basic Granny Square Crochet Pattern for Beginners — Step by Step
If you have ever wanted to learn how to crochet a granny square, you are in exactly the right place. This free basic granny square crochet pattern is worked in just 3 rounds and is perfect for absolute beginners. No complicated stitches, no confusing techniques — just a simple, satisfying project you can finish in under 30 minutes.
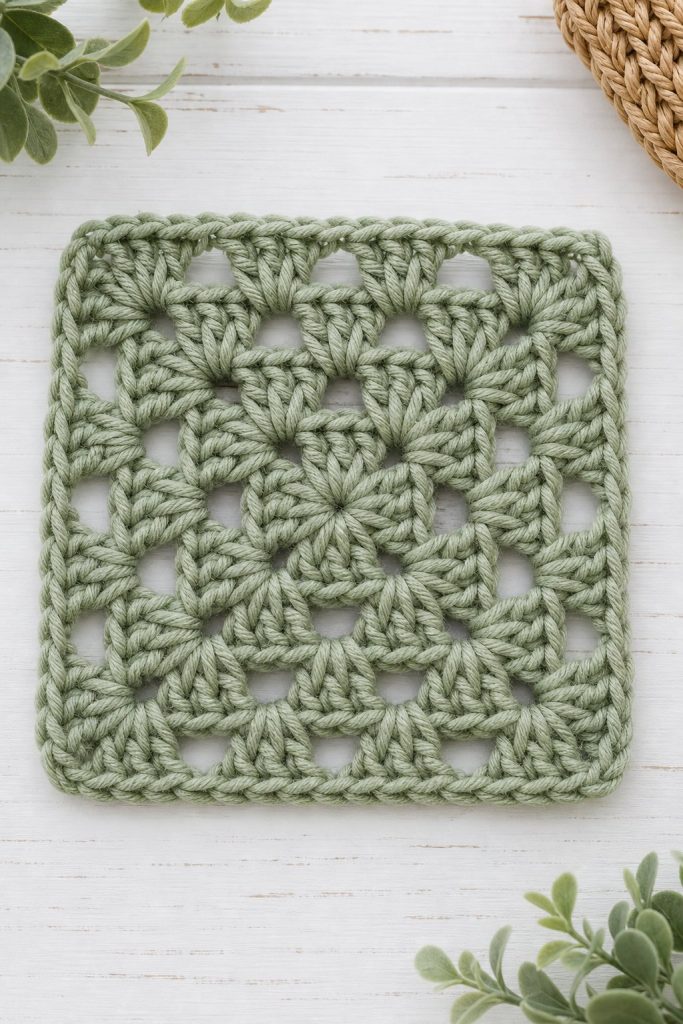
The classic granny square has been a favorite among crocheters for generations. You can spot them in cozy afghans draped over sofas, in stylish cardigans worn on Pinterest, in market bags and pillow covers. Once you learn this basic square, you will have the foundation for hundreds of beautiful crochet projects.
Best of all — you only need a little yarn, a hook, and about 20 minutes to make your very first one.
What Is a Granny Square?
A granny square is a small flat crochet motif worked in rounds from the center outward. It is built from just two stitches — the chain stitch and the double crochet — worked in groups of three called clusters. Corner spaces are formed by working two clusters separated by a chain-2 space, which gives the square its four defined corners.
The pattern is fast to memorize. After just two or three squares, most beginners can work the pattern without looking at the instructions at all.
What You Will Need
Yarn
Worsted weight yarn (weight 4) is the best choice for beginners. It is thick enough that you can clearly see your stitches, and it works up quickly. You can use a single color for a modern minimal look, or two to three colors for the classic traditional style.
Good yarn choices for beginners:
- Lion Brand Pound of Love
- Red Heart Super Saver
- Caron Simply Soft
Crochet Hook
Use a US H-8 / 5.00mm crochet hook. This is the standard size for worsted weight yarn.
Other Supplies
- Scissors
- Tapestry needle (also called a yarn needle or darning needle) for weaving in ends
Crochet Abbreviations
| Abbreviation | Meaning |
|---|---|
| ch | chain |
| dc | double crochet |
| sl st | slip stitch |
| sp | space |
| rep | repeat |
| rnd | round |
Free Basic Granny Square Pattern
BEFORE YOU SCROLL PAST
Trending Now: 👇
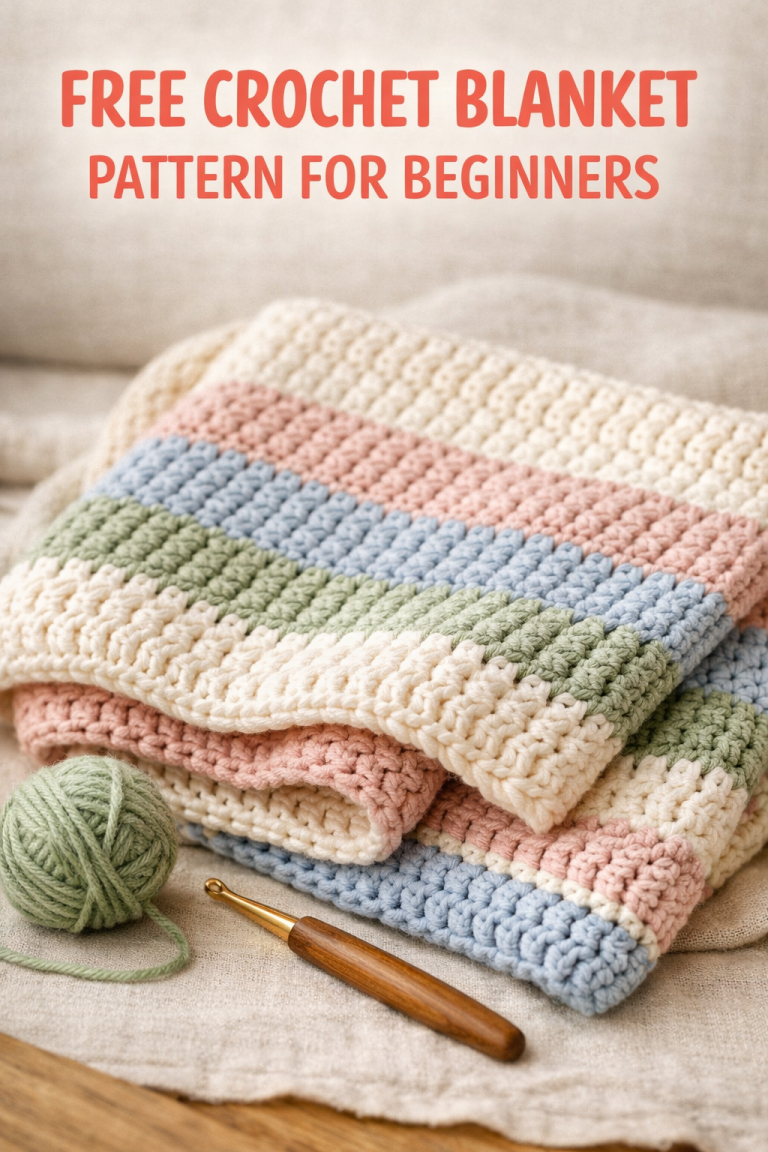
👉 Free Crochet Blanket Pattern For Beginners
👉 Free Basic Granny Square Crochet Pattern Beginners
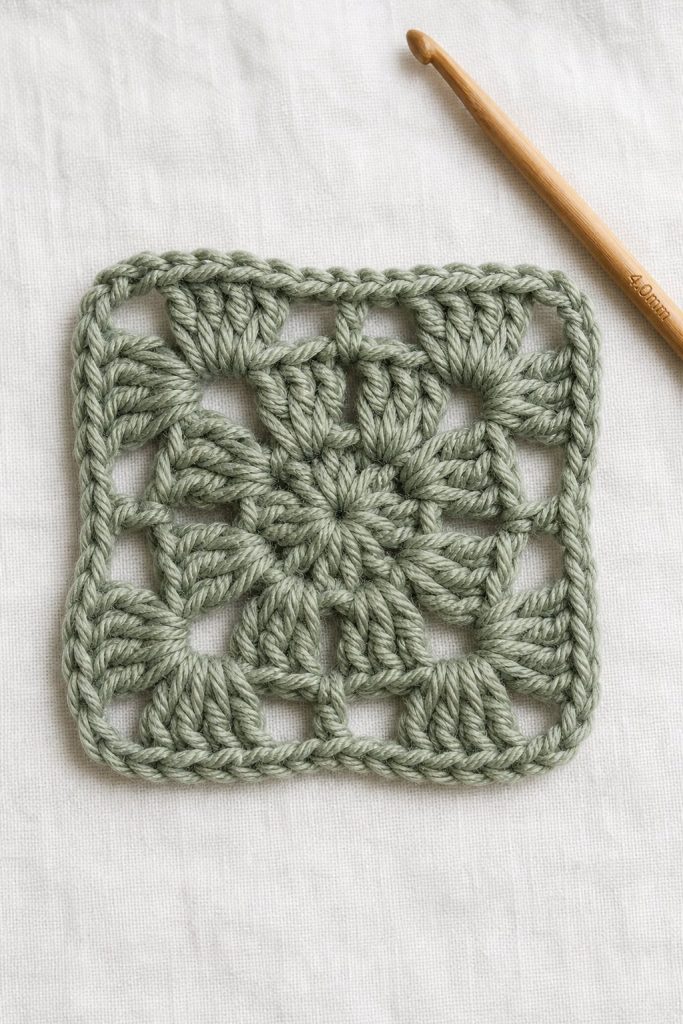
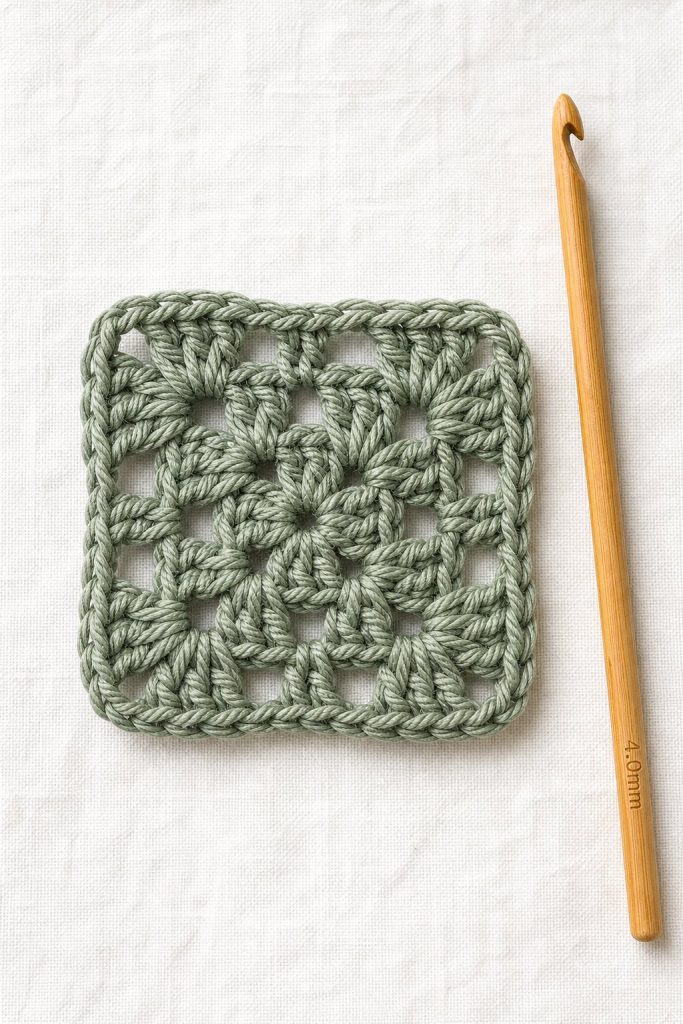
Finished size: approximately 4 inches x 4 inches with worsted weight yarn and a 5.00mm hook
Skill level: Beginner
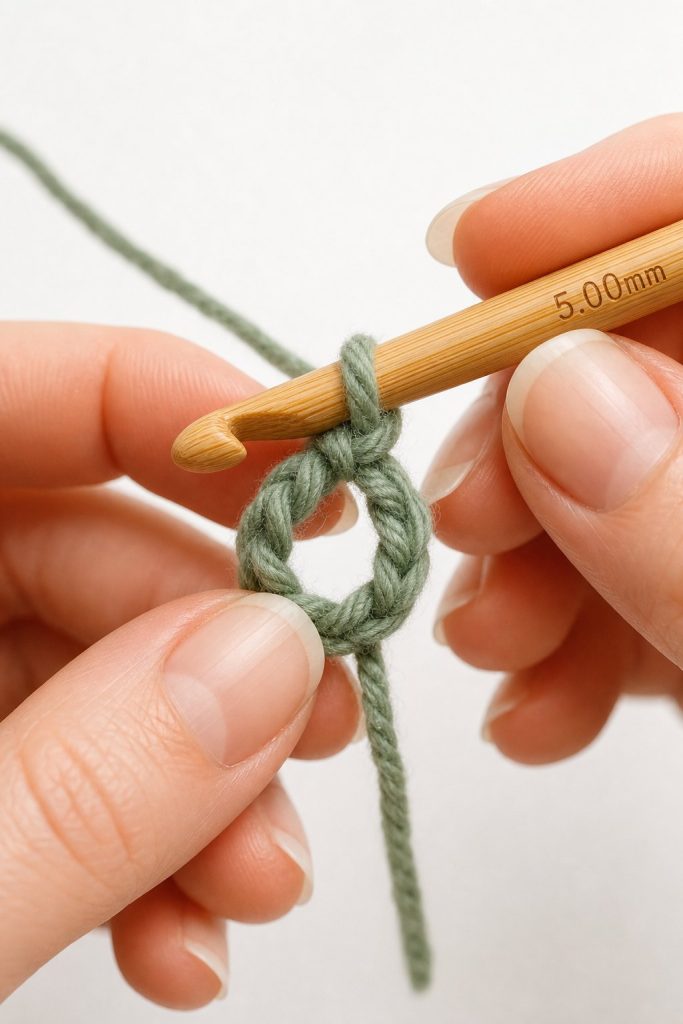
To start: Chain 4. Join with a slip stitch to form a ring.
This is your starting ring — all of the Round 1 stitches are worked directly into this ring.
Round 1
Chain 3. This counts as your first double crochet.
Work 2 dc into the ring, chain 2, work 3 dc into the ring, chain 2, work 3 dc into the ring, chain 2, work 3 dc into the ring, chain 2.
Join with a slip stitch to the top of the beginning chain 3.
You now have 4 clusters of 3 dc each, with a chain-2 corner space between every cluster. Pull the starting tail to tighten the ring closed.
Fasten off Color A if you are changing colors for Round 2.
Round 2
Join new yarn with a slip stitch into any corner chain-2 space.
Chain 3 (counts as first dc). Work 2 dc into the same corner space, chain 2, work 3 dc into the same corner space. You have made your first complete corner — two clusters with a chain-2 space between them.
Chain 1. Move to the next corner chain-2 space.
Work 3 dc, chain 2, 3 dc into the corner space. Chain 1.
Repeat in the remaining two corner spaces. Chain 1 after each corner.
Join with a slip stitch to the top of the beginning chain 3.
You now have 8 clusters total — 2 clusters at each of the 4 corners — with a chain-1 space on each side between corners.
Fasten off Color B if changing colors for Round 3.
Round 3
Join new yarn with a slip stitch into any corner chain-2 space.
Chain 3 (counts as first dc). Work 2 dc, chain 2, 3 dc into the same corner space. First corner complete.
Chain 1. Work 3 dc into the chain-1 side space. Chain 1. Move to the next corner space.
Work 3 dc, chain 2, 3 dc into the corner space. Chain 1.
Work 3 dc into the chain-1 side space. Chain 1.
Repeat for the remaining two corners and sides.
Join with a slip stitch to the top of the beginning chain 3. Fasten off.
You now have 12 clusters total — 2 at each corner and 1 on each side between corners. Your basic granny square is complete.
To Add More Rounds
Each additional round follows the same logic. Slip stitch to the next corner space to start. In each corner space work 3 dc, chain 2, 3 dc. In each side space work 3 dc. Work a chain 1 between every cluster. You can keep adding rounds to make the square as large as you like.
Finishing Your Granny Square
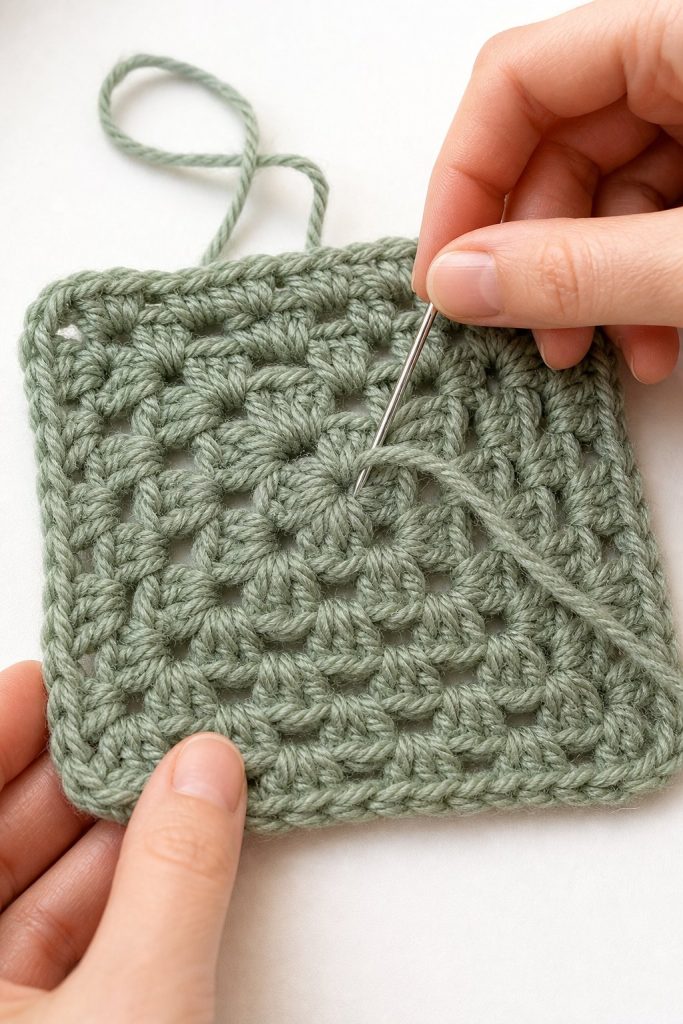
Weaving in Ends
Thread each yarn tail onto your tapestry needle. Weave the tail through the back loops of nearby stitches in a small zigzag for about one inch to lock it in place. Trim any excess yarn close to the work.
Blocking
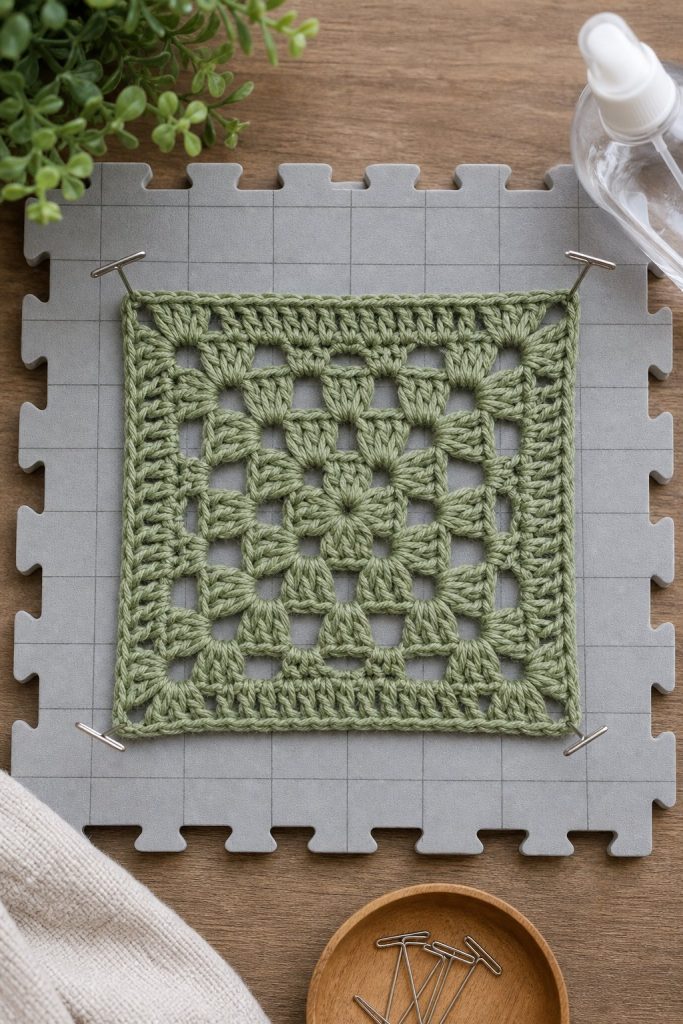
Blocking makes your granny square lie perfectly flat — especially helpful when you are joining multiple squares for a blanket or garment.
Wet the square with warm water, squeeze gently, then lay flat on a towel. Stretch and pin into a square shape and leave to dry completely overnight. The difference is remarkable.
Color Combinations to Try
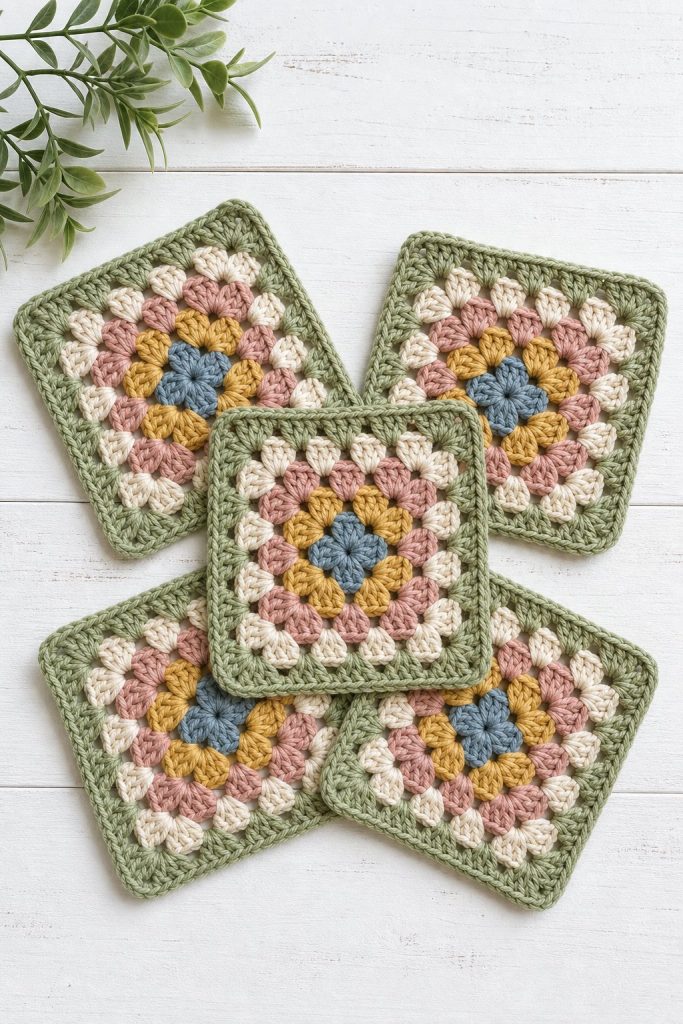
Classic traditional: Red, white, and navy — the original granny square look
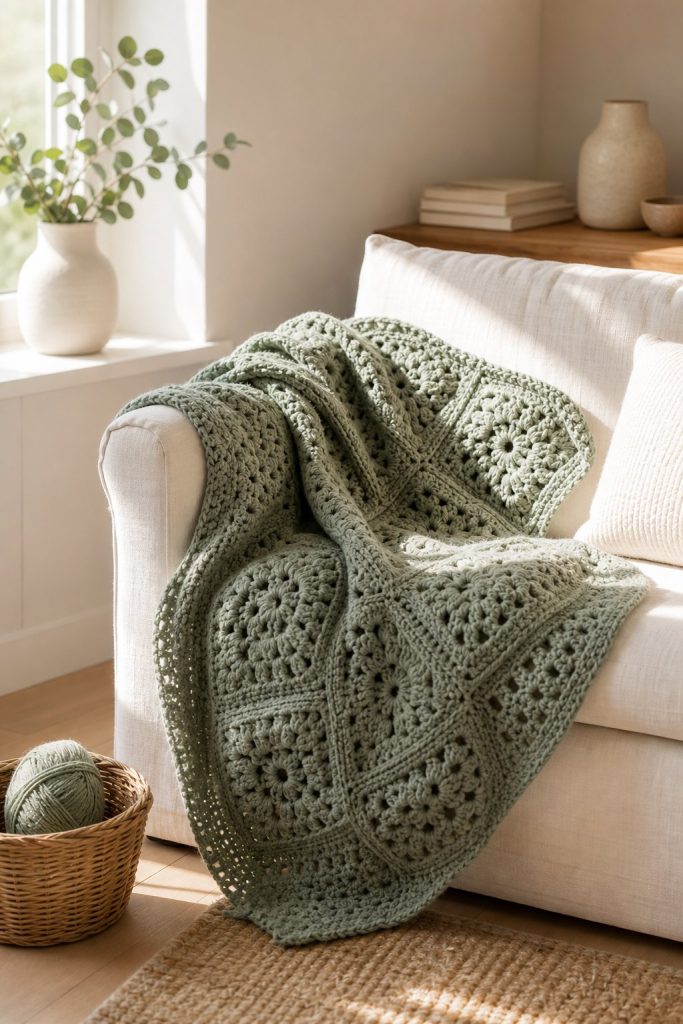
Soft modern: Sage green, cream, and dusty rose
Autumn warmth: Mustard, rust, and chocolate brown
Single color: All cream or all white for a clean contemporary style
Scrap yarn rainbow: A different color every round using leftover yarn
How to Join Granny Squares Together
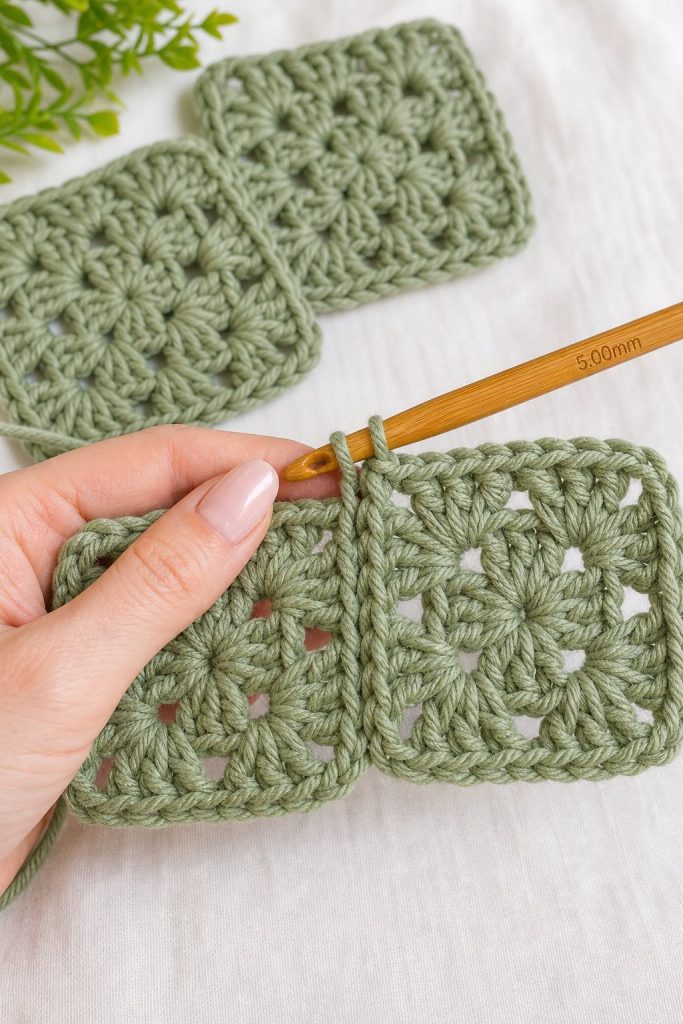
Once you have made multiple squares you will need to join them to build a larger project. The three most popular methods are:
Slip stitch join — Hold two squares wrong sides together. Slip stitch through both layers across the edge. Creates a visible ridge on the right side that many crocheters love as a design detail.
Single crochet join — Hold two squares wrong sides together. Single crochet through both layers. Creates a neat, slightly raised seam.
Whip stitch join — Lay squares flat side by side. Sew through the back loops of both squares with a tapestry needle. The flattest method of all three.
SEE THIS:
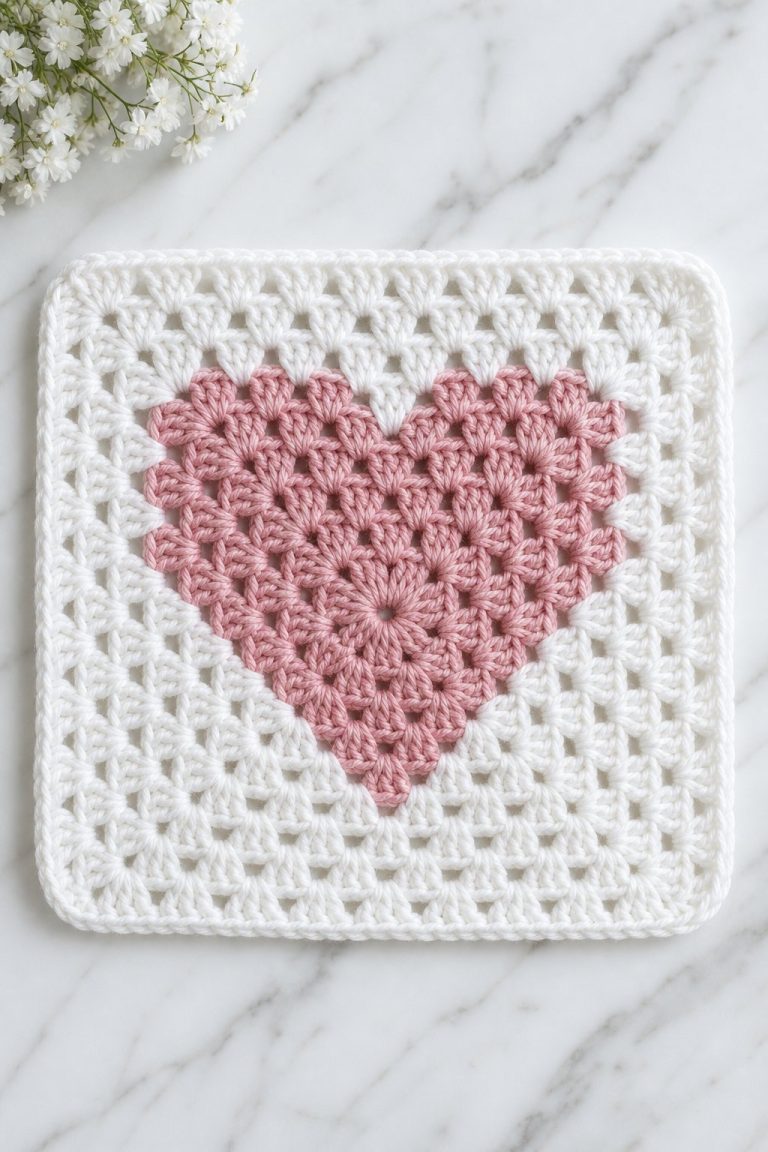
Free Heart Granny Square Crochet Pattern for Beginners — Step by Step
What to Make With Granny Squares
Blanket or Afghan
The most classic use. Make as many squares as you need, join them in a grid, and add a simple border. Twenty squares makes a lap blanket. One hundred squares makes a full throw.
Granny Square Cardigan
One of the biggest crochet trends right now. Join squares together for the body panels and sleeves to create a beautiful boho-style cardigan.
Tote Bag
Join 8–12 squares in a rectangle, fold in half, seam the sides, and add handles for a gorgeous handmade market bag.
Pillow Cover
Make two large squares or join four smaller ones. Sew three sides, insert a pillow form, close the fourth side.
Baby Blanket
Use soft, machine-washable yarn in pastel colors. A small lap-sized baby blanket needs around 20–30 squares.
More Free Granny Square Patterns to Try Next
Now that you have mastered the basic square, here are the natural next steps:
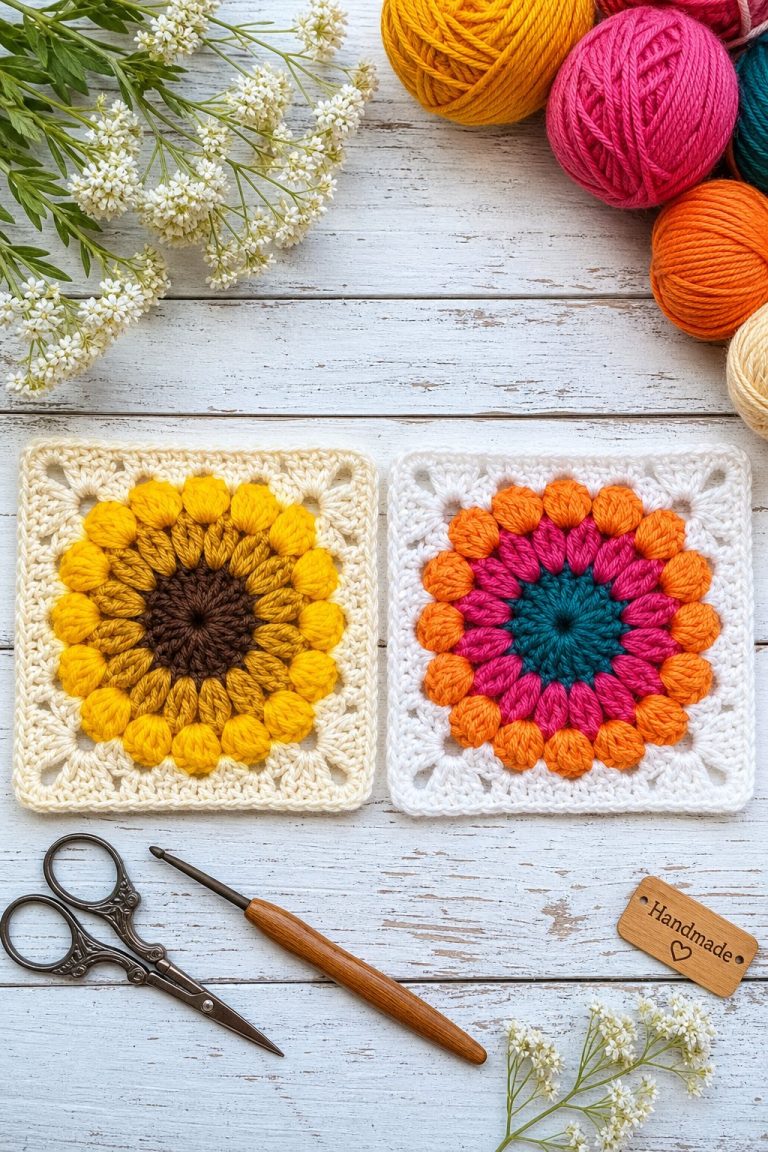
- Sunflower Granny Square — beautiful petal stitches worked around the center for a stunning floral design
- Heart Granny Square — a heart motif in the center, perfect for Valentine gifts and baby items
- Solid Granny Square — no gaps between stitches for a denser, warmer square
- Bobble Granny Square — textured bobble stitches at the corners for beautiful dimension
- Mini Granny Square — just 2 rounds for a tiny motif perfect for appliqués and accessories
Beginner Tips for the Best Results
Count your stitches after every round. If Round 1 does not end with 4 clusters and 4 corner spaces, find the mistake before moving on. It is much easier to fix early.
Keep your chain-4 starting ring firm but not too tight. If the ring is too tight, your hook will struggle to enter it on Round 1.
Use different colors for each round while you are learning. It makes it much easier to see where each round begins and ends.
Make 10 squares before starting a big project. Your tension, speed, and consistency improve dramatically after the first five or six squares. A practice batch is never wasted.
Weave in ends as you go. Leaving all your ends to the very end becomes overwhelming fast. Weave each color tail in as you finish it.
Common Mistakes and How to Fix Them
My square cups upward instead of lying flat
Your tension is too tight. Try a 5.5mm hook instead of a 5.0mm, or consciously relax your grip on the yarn.
My corners look rounded, not square
You may have chained 1 instead of chain 2 in your corner spaces. The chain-2 is what creates that defined square corner. Check each round carefully.
I have a big hole in the center
Pull the starting yarn tail firmly while holding the Round 1 stitches to close the chain-4 ring completely.
My squares are different sizes
This is a tension issue — very common as you relax into crochet. Block all your squares to the same measurement and they will even out beautifully.
Frequently Asked Questions
What does the chain 3 at the start of each round do?
It counts as your first double crochet stitch. Every round begins with a chain 3 instead of an actual dc because it is easier to start a round this way. The chain 3 and 2 real dc stitches together form your first cluster of 3.
Can I use a magic ring instead of the chain 4?
Yes, absolutely. A magic ring gives a slightly tighter, neater center with no hole. Chain 4 is the traditional method and is a little easier for complete beginners. Both work perfectly well.
How do I know what size hook to use?
Check your yarn label — it always shows the recommended hook size. For most worsted weight yarn, a 5.0mm (US H-8) hook is ideal.
How many squares do I need for a throw blanket?
For a throw blanket roughly 50 x 60 inches using 4-inch squares, you will need approximately 150 squares joined in a 12 x 13 grid. For a larger blanket, plan for 200 or more.
Do I have to use three colors?
Not at all. This pattern works beautifully in a single color — very popular for a modern minimal look. Use as many or as few colors as you like.
How long does one square take?
Most beginners finish their first square in 25–40 minutes. By your tenth square you will likely be done in 15 minutes. Experienced crocheters often work a granny square in 8–12 minutes.
Can I make the square larger?
Yes. Just keep adding rounds using the same logic — 2 corner clusters in each corner space, 1 side cluster in each side space, chain 1 between all clusters. Each round adds roughly half an inch to each side.
My starting chain 3 looks loose and floppy at the join — what do I do?
This is very common. When you slip stitch to close the round, insert your hook under both loops of the chain 3 top and pull up firmly. Blocking will also help tighten and even out the look of your finished square.
Final Thoughts
The basic granny square is one of the most rewarding things to learn in crochet. It is quick, satisfying, and endlessly versatile. A single square takes less than half an hour. A stack of them becomes a blanket, a cardigan, a bag, a gift — anything you can imagine.
Save this pattern, pin it to your crochet board, and come back to it whenever you need a refresher. And when you finish your first square, share it in the comments below — we would love to see what color combination you chose.
Happy crocheting!