Free Heart Granny Square Crochet Pattern for Beginners — Step by Step
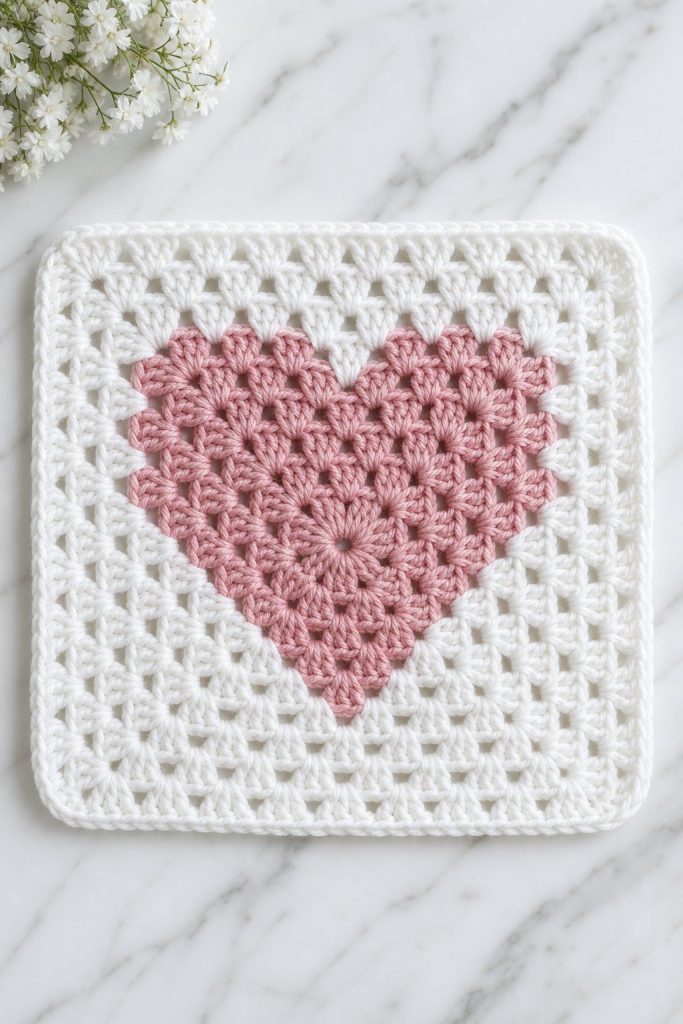
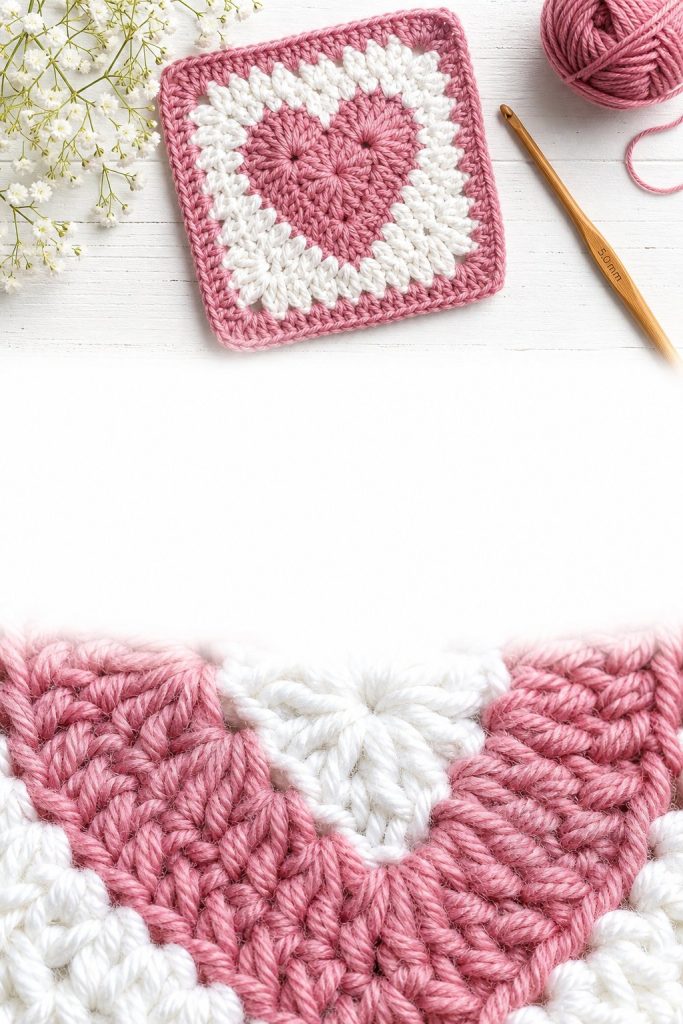
If you are looking for a free heart granny square crochet pattern that is actually beginner-friendly, you have found it. This sweet little square uses the same basic granny square rhythm you already know — double crochet clusters and chain spaces — with a few simple color changes to create a beautiful heart right in the center.
The result is one of the most charming squares you will ever make. It is perfect for Valentine’s Day gifts, baby blankets, love-themed home decor, and any project where you want to add a little heart. And the best part? If you can crochet a basic granny square, you can absolutely make this one.
This pattern comes in two sizes — a small 4-round version and a larger 5-round version — so you can choose whichever works best for your project.
What Makes This Pattern Special
The heart in this square is created entirely through color changes — not through any complicated shaping or special stitches. You simply switch between your heart color (red or pink) and your background color (white or cream) at specific points in Rounds 3 and 4. The clusters of double crochet stitches do all the work of drawing the heart shape for you.
If you have never worked a color change in crochet before, do not worry — this pattern walks you through every single step.
What You Will Need
Yarn
Worsted weight yarn (weight 4) works best for this pattern. You will need two colors:
For a red heart on white background:
- 12–18 yards of white worsted weight yarn
- 10–13 yards of red worsted weight yarn
For a pink heart on white background:
- 12–18 yards of white worsted weight yarn
- 10–13 yards of dusty pink worsted weight yarn
Recommended beginner yarn brands:
- Lion Brand Pound of Love
- Red Heart Super Saver
- Caron Simply Soft
Hook
US H-8 / 5.00mm crochet hook
Other Supplies
- Scissors
- Tapestry needle for weaving in ends
Crochet Abbreviations
| Abbreviation | Meaning |
|---|---|
| ch | chain |
| dc | double crochet |
| sl st | slip stitch |
| sp | space |
| rep | repeat |
| rnd | round |
| MC | main color (heart color — red or pink) |
| CC | contrasting color (background — white or cream) |
Understanding Color Changes in This Pattern
The heart shape is created in Rounds 3 and 4 by switching between your main color (MC — red or pink) and your contrasting color (CC — white). Here is the golden rule for clean color changes:
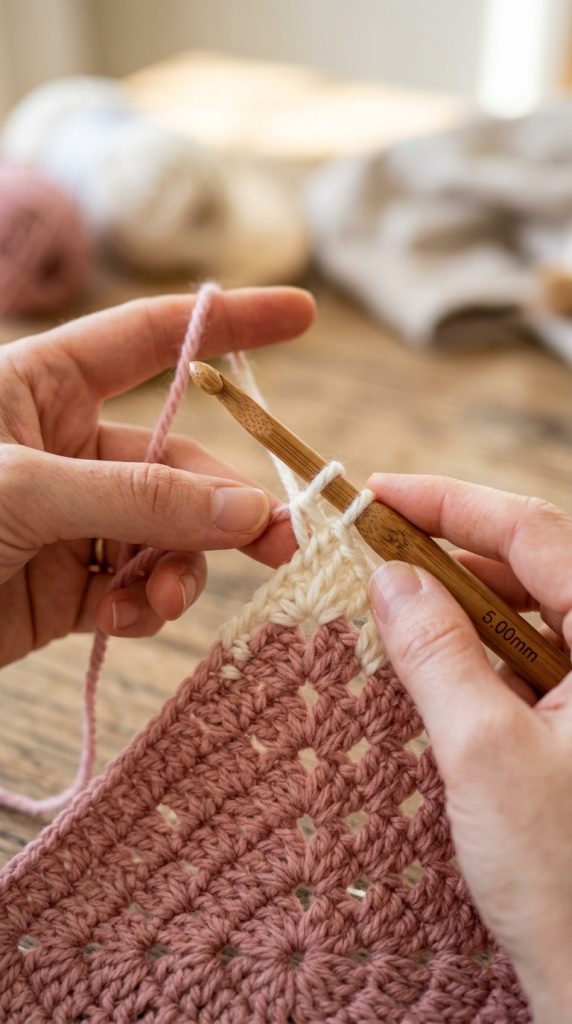
How to change colors mid-round:
When you reach the last double crochet before a color change, work that stitch until the final yarn over — stop with 2 loops on your hook. Drop the current color. Pick up the new color and pull it through both loops to complete the stitch. The new color is now on your hook and ready to go.
Cut yarn at each color change rather than carrying it across the back. This keeps the wrong side clean and prevents the carried yarn from showing through the right side. You will have more ends to weave in, but the result is a much neater, more professional-looking square.
Weave each end into matching color stitches only. Weave the red ends through red stitches, white ends through white stitches. This keeps the heart looking crisp and clean from the front.
BEFORE YOU SCROLL PAST
Trending Now: 👇
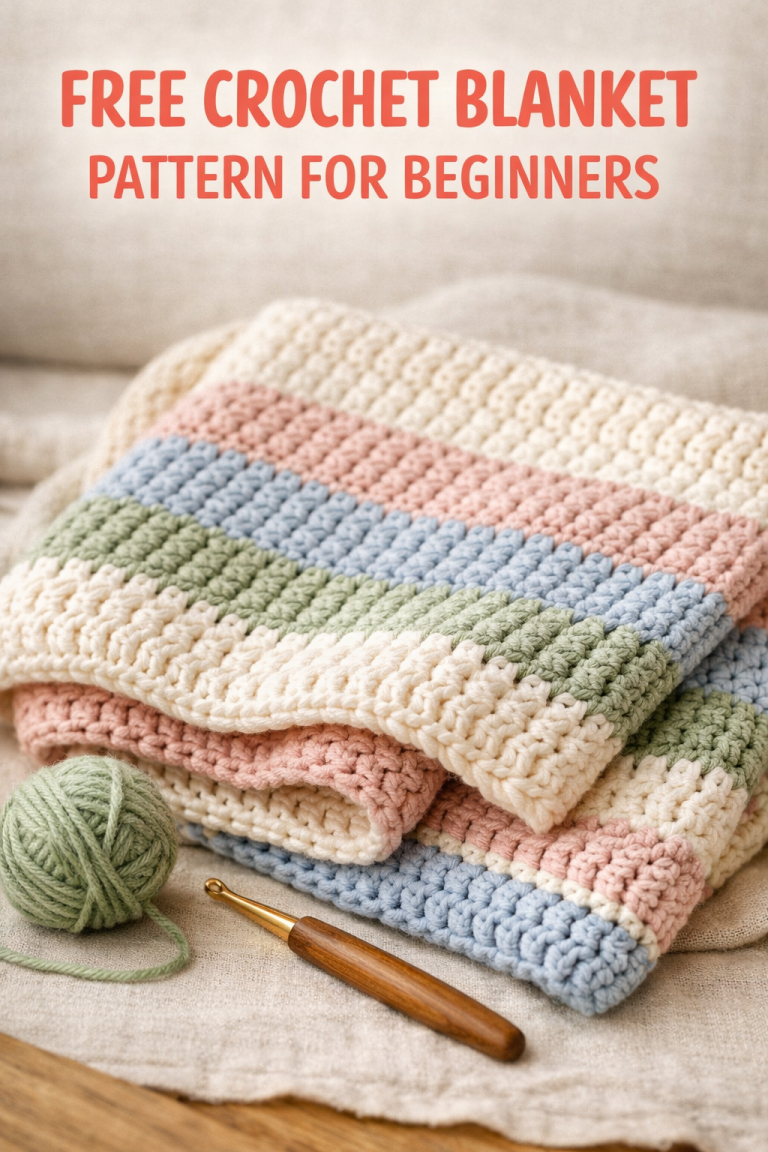
👉 Free Crochet Blanket Pattern For Beginners
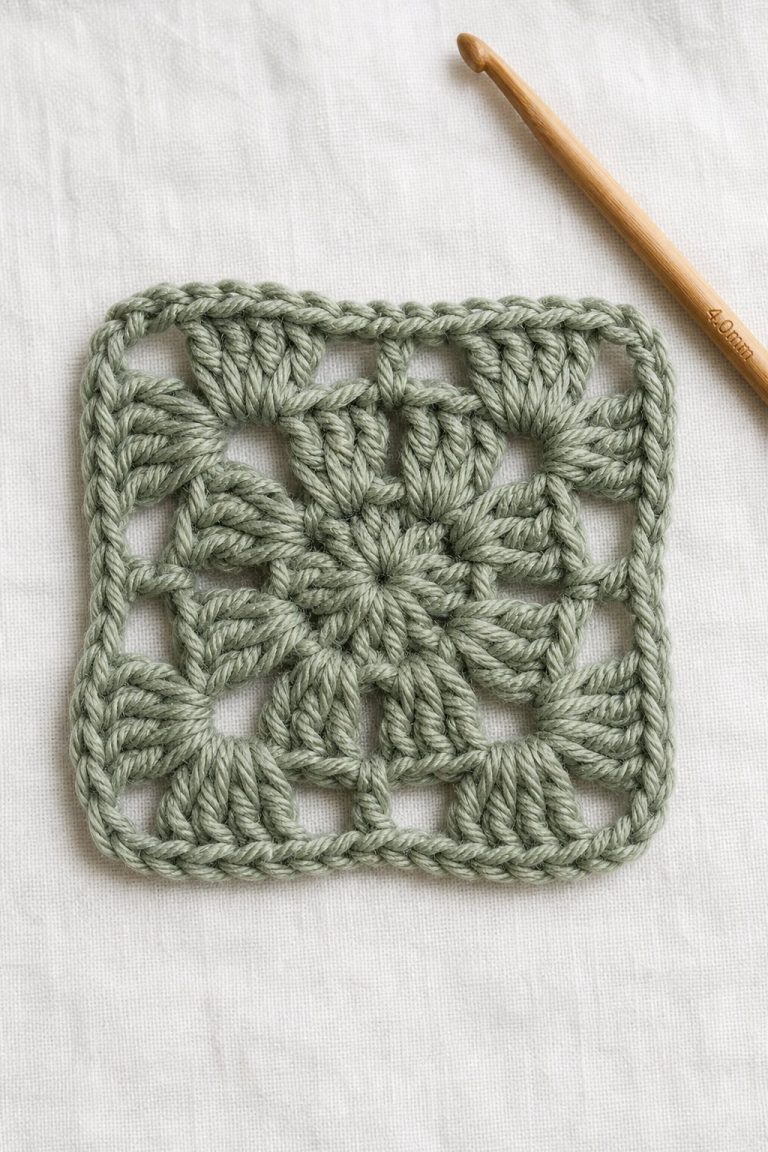
👉 Free Basic Granny Square Crochet Pattern Beginners
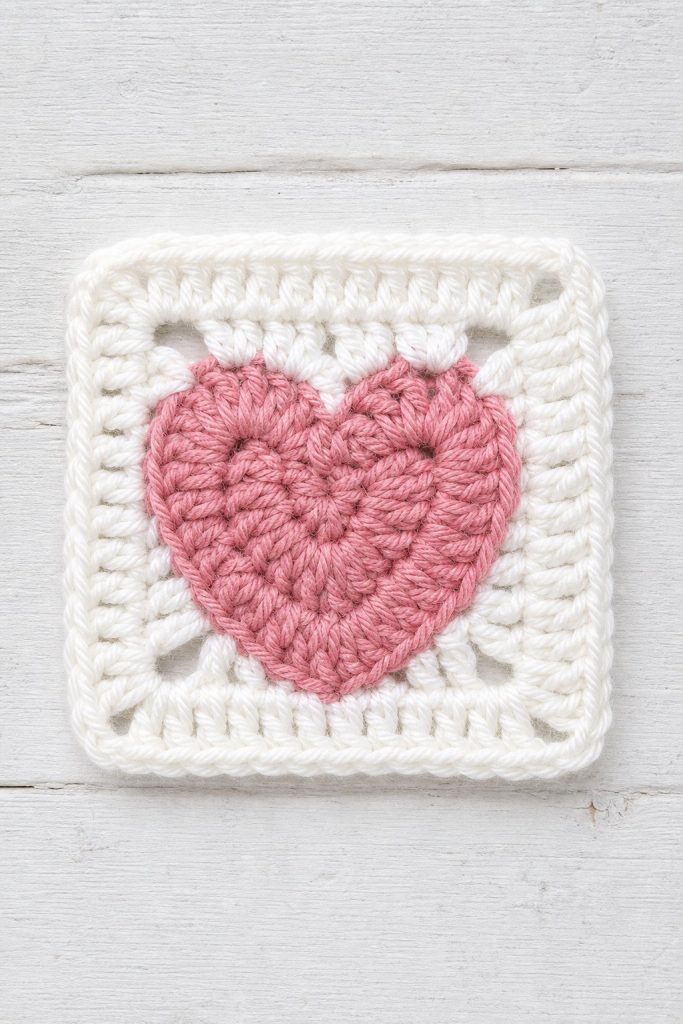
Free Small Heart Granny Square Pattern (4 Rounds)
Finished size: approximately 4 inches x 4 inches
Skill level: Beginner-Intermediate
Colors: MC = red or pink, CC = white
To start: With MC, chain 4. Join with a slip stitch to the first chain to form a ring.
Round 1 (MC)
Chain 3 (counts as first dc). Work 2 dc into the ring, chain 2.
*Work 3 dc into the ring, chain 2. Repeat from * 2 more times.
Join with a slip stitch to the top of the beginning chain 3.
You have 4 clusters of 3 dc with 4 chain-2 corner spaces. Fasten off MC if desired or continue to Round 2.
Round 2 (MC)
Slip stitch into the next chain-2 corner space.
Chain 3 (counts as first dc). Work 2 dc, chain 2, 3 dc into the same corner space. First corner complete.
*Work 3 dc, chain 2, 3 dc into the next corner space. Repeat from * 2 more times.
Join with a slip stitch to the top of the beginning chain 3.
You now have 8 clusters — 2 at each corner. This is your solid MC center — the heart will start to appear in the next round.
Round 3 — Heart Begins (Color Changes)
This is where the heart shape starts to form. Read through the entire round before starting so you know where the color changes happen.
Slip stitch to the next chain-2 corner space.
Section 1 (MC): Chain 3 (counts as first dc), work 2 dc, chain 2, 3 dc into the same corner space. Work 3 dc into the next chain-1 side space. Change to CC on the last dc.
Section 2 (CC): Work 3 dc, chain 2, 3 dc into the next corner space. Change to MC on the last dc.
Section 3 (MC): Work 3 dc into the next side space. Change to CC on the last dc.
Section 4 (CC): Work 3 dc, chain 2, 3 dc into the next corner space. Change to MC on the last dc.
Section 5 (MC): Work 3 dc into the next side space. Work 3 dc, chain 2, 3 dc into the next corner space. Change to CC on the last dc.
Section 6 (CC): Work 3 dc into the next side space.
Join with a slip stitch to the top of the beginning chain 3. Fasten off CC.
Round 4 — Finishing Round (CC Only)
Reattach CC yarn to any corner chain-2 space.
Chain 3 (counts as first dc). Work 2 dc, chain 2, 3 dc into the same corner space.
*Work 3 dc into each of the next 2 side spaces. Work 3 dc, chain 2, 3 dc into the next corner space. Repeat from * 2 more times.
Work 3 dc into each of the remaining 2 side spaces.
Join with a slip stitch to the top of the beginning chain 3. Fasten off CC.
Weave in all ends carefully, keeping each yarn tail in its matching color section.
Free Large Heart Granny Square Pattern (5 Rounds)
Finished size: approximately 5.5 inches x 5.5 inches
Skill level: Beginner-Intermediate
Colors: MC = red or pink, CC = white
To start: With MC, chain 4. Join with a slip stitch to the first chain to form a ring.
Rounds 1 and 2 are identical to the Small Heart pattern above — work both rounds entirely in MC.
Round 3 (MC)
Slip stitch to the next chain-2 corner space.
Chain 3 (counts as first dc). Work 2 dc, chain 2, 3 dc into the same corner space.
*Work 3 dc, chain 2, 3 dc into each remaining corner space. Repeat from * 2 more times.
Work a chain 1 between each corner cluster.
Join with a slip stitch to the top of the beginning chain 3.
You now have a solid 3-round MC square. The heart color changes begin in Round 4 on the large version.
Round 4 — Heart Begins (Color Changes)
Slip stitch to the next chain-2 corner space.
Section 1 (MC): Chain 3, work 2 dc, chain 2, 3 dc into the same corner space. Work 3 dc into next side space. Change to CC on the last dc.
Section 2 (CC): Work 3 dc into the next side space. Work 3 dc, chain 2, 3 dc into the next corner space. Work 3 dc into the next 2 side spaces. Work 3 dc, chain 2, 3 dc into the next corner space. Work 3 dc into the next side space. Change to MC on the last dc.
Section 3 (MC): Work 3 dc into the next side space. Work 3 dc, chain 2, 3 dc into the next corner space. Change to CC on the last dc.
Section 4 (CC): Work 3 dc into the next 2 side spaces.
Join with a slip stitch to the top of the beginning chain 3. Fasten off CC.
Round 5 — Finishing Round (CC Only)
Reattach CC yarn to any corner chain-2 space.
Chain 3 (counts as first dc). Work 2 dc, chain 2, 3 dc into the same corner space.
*Work 3 dc into each of the next 3 side spaces. Work 3 dc, chain 2, 3 dc into the next corner space. Repeat from * 2 more times.
Work 3 dc into each of the remaining 3 side spaces.
Join with a slip stitch to the top of the beginning chain 3. Fasten off.
Weave in all ends carefully, keeping each yarn tail in its matching color section.
Tips for Perfect Color Changes
Keep your tension even when switching colors. The moment you pick up the new yarn, keep your tension consistent with the rest of your work. If you pull too tight the join will pucker. If you leave it too loose it will look sloppy.
Leave a 6-inch tail when joining a new color. This gives you enough length to weave in securely without the end working its way out over time.
Work over the tails as you go. As you crochet the first few stitches with a new color, hold the old yarn tail alongside your work and crochet over it for 4–5 stitches. This buries the end inside the stitches automatically and saves you time weaving in later.
Block the finished square. Blocking evens out any tension differences between your color sections and makes the heart shape look crisp and defined. Wet block by soaking briefly in cool water, gently squeeze out the excess, pin into a square shape on a blocking mat, and leave to dry overnight.
What to Make With Heart Granny Squares
Valentine’s Day Blanket
Make 20–30 heart squares and join them together for a beautiful Valentine’s throw blanket. Alternate the heart colors — some red, some pink — for a charming patchwork effect.
Baby Blanket
Use soft, machine-washable yarn in pink, lavender, or mint for the hearts with a cream background. A small baby blanket needs approximately 20–25 squares joined in a rectangle.
Valentine’s Garland
Make 10–12 small heart squares and join them in a single row. Hang across a mantle or window for a sweet handmade Valentine’s decoration.
Pillow Cover
Make 4 large heart squares and join them in a 2×2 grid for the front panel. Add a plain back panel and a simple zipper or button closure.
Tote Bag
Join 8 small squares in a rectangle, fold in half, seam the sides, and add handles for a sweet gift bag.
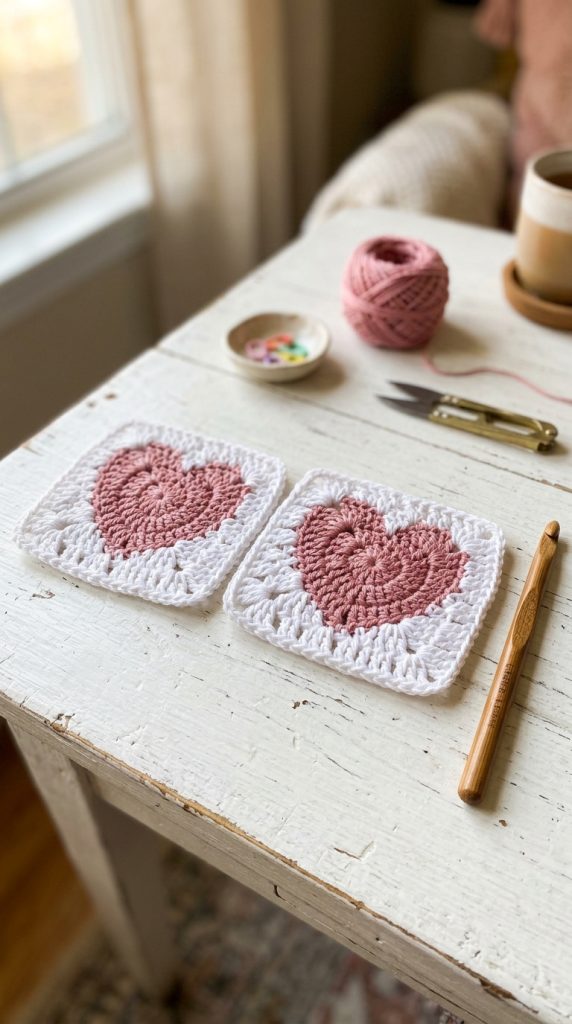
Coasters
Work just Round 1 and Round 2 of the small pattern for a miniature heart coaster — perfect for Valentine’s gifts or a handmade housewarming set.
Gift Topper
Make one small heart square and tie it to a wrapped gift instead of a bow. The recipient gets both the gift and a beautiful handmade keepsake.
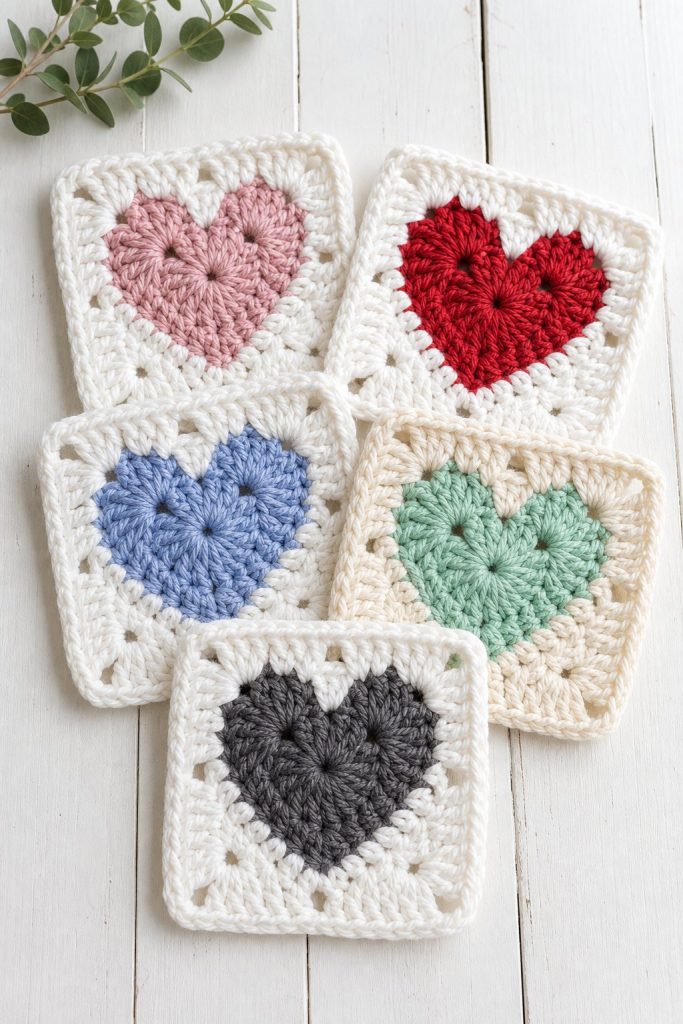
Color Combination Ideas
Classic Valentine: Red heart on white background — timeless and bold
Soft Romance: Dusty rose pink heart on cream background — beautiful and vintage
Baby Girl: Blush pink heart on soft white background — perfect for newborn gifts
Baby Boy: Periwinkle blue heart on white background — sweet and unexpected
Modern Minimal: Charcoal grey heart on white background — sophisticated home decor
Christmas: Deep red heart on cream background — works beautifully in holiday projects
Autumn: Burnt orange heart on cream background — warm and cozy
Beginner Tips
Read through the entire pattern before you start. The color change rows in Round 3 (small) and Round 4 (large) have several sections. Reading through once before you pick up your hook means no surprises mid-round.
Make the small version first. Even if your final project calls for larger squares, practice the color change technique on the small 4-round version first. The pattern logic is identical — it is just easier to see and correct mistakes on a smaller scale.
Use stitch markers in your corner spaces. Place a stitch marker in each chain-2 corner space as you finish Round 2. When you are focused on color changes in Round 3 it is very easy to miss a corner — the markers prevent that.
Cut your yarn generously. Leave at least 6 inches when cutting between color sections. Trying to weave in a 2-inch tail is frustrating and prone to coming undone.
Common Mistakes and How to Fix Them
The heart looks blurry or hard to see
This usually means the color changes happened one stitch too early or too late. Count your clusters carefully in Round 3 and make sure the color change happens on the very last yarn over of the indicated stitch.
My square is not square — it looks wonky
Check that you worked the full corner cluster (3 dc, chain 2, 3 dc) in every corner space on every round. Missing the chain 2 in a corner will pull that corner in and distort the shape.
The wrong side looks messy with lots of yarn strands
This is normal when cutting and reattaching yarn for each color section. Weave every end in thoroughly — at least 5–6 stitches in both directions — and trim close to the work. The right side will look clean.
My color changes show a loop of the old color on the right side
You may be completing the color change one step late. The new color must be pulled through on the very final yarn over of the last stitch — not on the first stitch of the new section.
Frequently Asked Questions
Do I need to know how to crochet a basic granny square first?
It helps a lot. The heart granny square uses the exact same stitch structure as the basic granny square — just with color changes added. If you are brand new to granny squares, practice the basic version first before attempting this one.
Can I use different colors for the heart?
Absolutely. Any two contrasting colors work. The key is choosing colors with enough contrast that the heart shape is clearly visible. Light heart on dark background or dark heart on light background both work well.
What if I do not want to cut the yarn at every color change?
You can carry the yarn across the back instead of cutting, but be aware that the carried strand may show through the open spaces of the granny square on the right side. Cutting and weaving in gives the cleanest result.
How do I make the heart more defined?
Blocking is the most effective way to make the heart shape look crisp and clear. A well-blocked heart granny square looks dramatically better than an unblocked one.
Can I make this pattern larger than 5 rounds?
Yes. Add a Round 6 working entirely in CC — work 3 dc, chain 2, 3 dc in each corner space and 3 dc in each side space with a chain 1 between clusters. Each additional round adds approximately 0.75 inches to each side.
How many heart squares do I need for a throw blanket?
For a standard throw blanket approximately 50 x 60 inches using 4-inch small squares, you will need around 150 squares in a 12 x 13 grid. Using the 5.5-inch large squares, you will need approximately 80–90 squares in a 9 x 10 grid.
Is this pattern the same for left-handed crocheters?
Yes — the stitch structure is identical. Left-handed crocheters simply work in the opposite direction, which does not affect the heart pattern or the color change placement.
More Free Granny Square Patterns
Now that you have mastered the heart granny square, here are the other beautiful variations in this series to try next:
- Basic Granny Square — the essential foundation every crocheter needs, with full step-by-step instructions for all 3 rounds
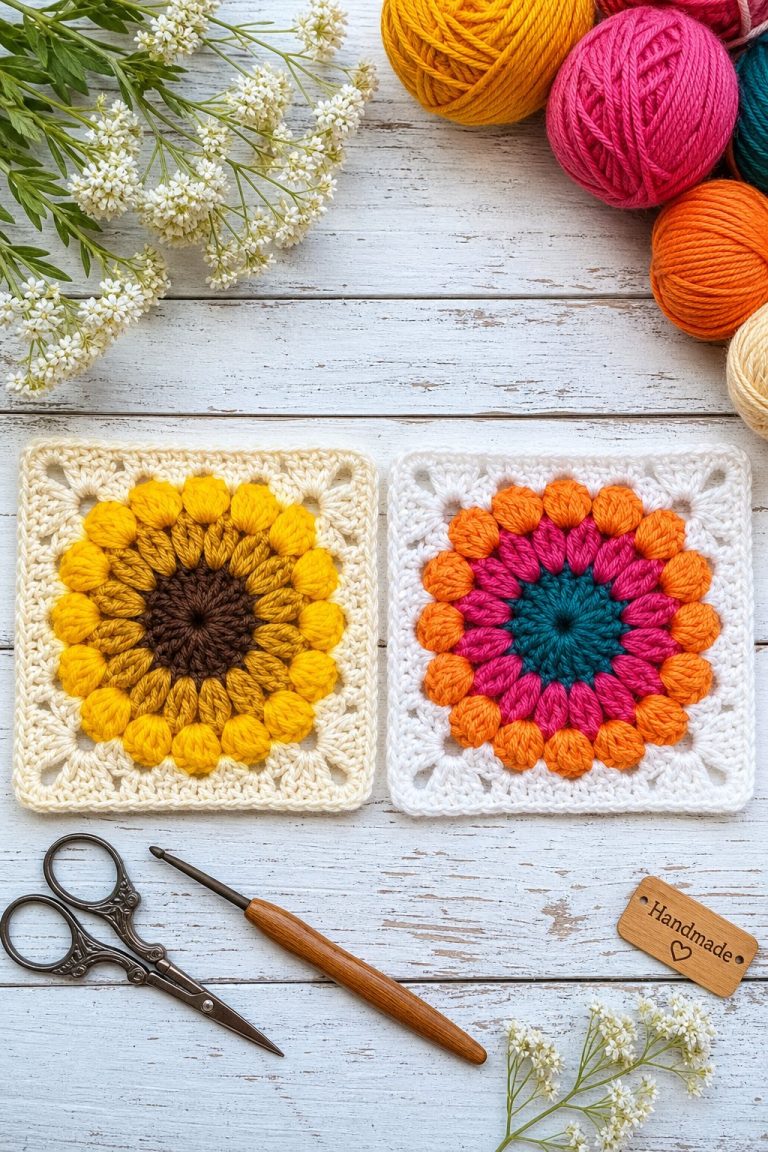
- Sunburst Granny Square — a stunning floral motif with beautiful petal stitches radiating from the center
- Daisy Granny Square — a cheerful flower square perfect for spring and summer projects
- Solid Granny Square — no gaps between stitches for a dense, warm fabric ideal for bags and winter items
- African Flower — a striking hexagon motif that joins beautifully into blankets and cushion covers
Final Thoughts
The heart granny square is one of those patterns that feels just as good to give as it does to make. Whether you are crocheting a Valentine’s blanket, a baby gift, or simply a sweet coaster for your morning coffee, this little square carries a lot of meaning in just a few rounds of yarn.
Save this pattern, pin it to your crochet board, and come back whenever you need a heartfelt handmade project. And when your first heart square is finished, we would love to see it — drop a photo in the comments and tell us what color combination you chose.
Happy crocheting!