DIY Easy Crochet Ripple Blanket – Free Beginner Pattern

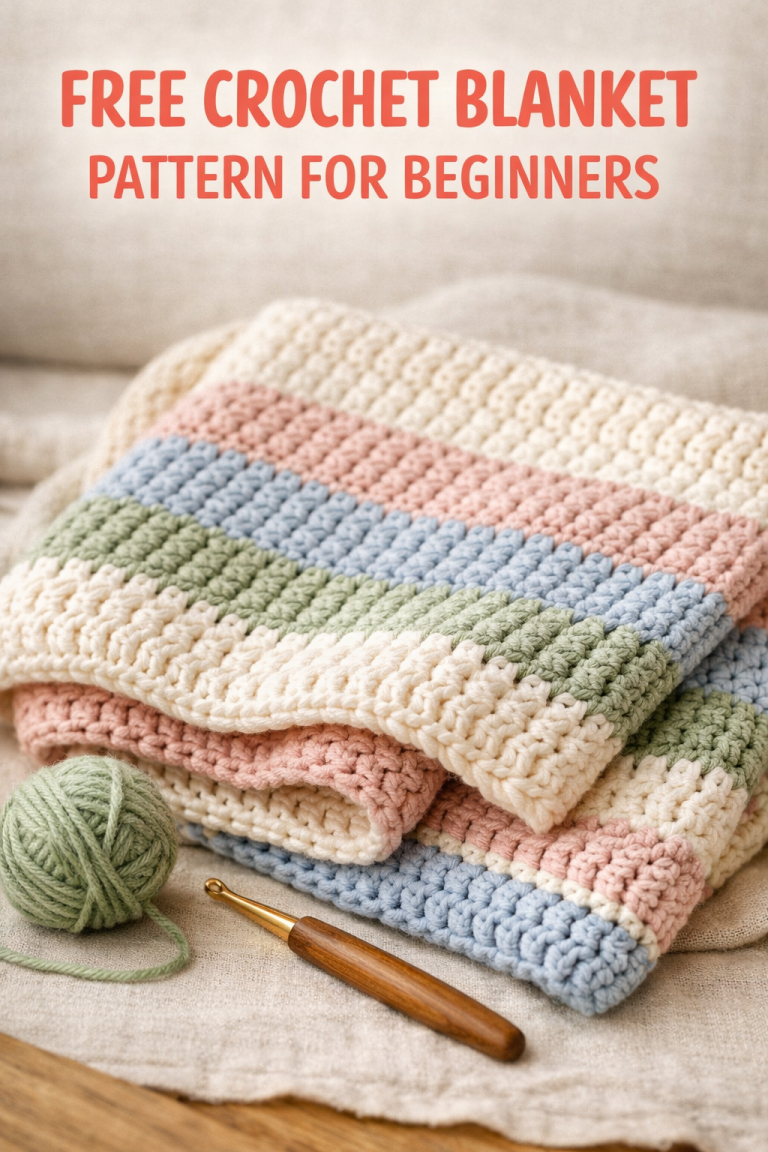
This crochet ripple blanket uses a classic wavy chevron stitch and a soft three-color pastel palette of rose, ivory, and sage. The pattern is built on a single repeating row, which makes it a great project for beginners who are comfortable with basic chains and double crochet.
Why This Pattern Works
The ripple (chevron) stitch creates its wave pattern through a simple sequence of increases and decreases placed at set points across each row. Once the first two rows are complete, every following row repeats the same instructions, so the pattern becomes easy to memorize quickly. It’s a good project for colorwork since the peaks and valleys of each wave show off color changes clearly.
Ripple Stitch Chart
Use this chart with the step-by-step instructions below.

Materials Needed
- Approximately 1,070 yards (978 m) of worsted weight (#4) yarn, divided across three colors — rose, ivory, and sage
- 4.00 mm (US G) crochet hook
- Stitch markers
- Tapestry needle
- Scissors
Yarn suggestions: Any worsted-weight acrylic or acrylic-blend yarn works well for this pattern. Budget-friendly options like Premier Yarns or Lion Brand worsted weight lines are good choices if you want reliable stitch definition and easy color matching.
Finished Size
This blanket measures approximately 35 in (68 cm) by 45 in (114 cm) as written. Because the pattern is based on a stitch multiple, it’s easy to size up or down — see the customization notes below.

Pattern Notes
- Skill level: Easy
- Written in US crochet terms
- Gauge: 14 double crochet (dc) stitches and 5½ rows = 4 in (10 cm) square. Gauge isn’t critical for this project, but it will affect final blanket size.
- Worked in turning rows; at the start of each row, 3 chains count as the first double crochet
- Pattern repeat: Row 2, worked over a multiple of 16 stitches plus 4 chains
- Estimated time: about 5 hours
- Estimated cost: around $15 in yarn, depending on brand and where you shop
Abbreviations
| Abbreviation | Meaning |
|---|---|
| ch(s) | chain(s) |
| dc | double crochet |
| dc2tog | double crochet two together (decrease) |
| FO | fasten off |
| rep | repeat |
| st(s) | stitch(es) |
| ( ) | repeat the instructions inside parentheses as many times as directed |
Crochet Ripple Blanket Instructions
Foundation Chain and Row 1

Chain 116, or any multiple of 16 plus 4 chains, depending on the width you want.
Row 1: Dc in the back bump of the 4th ch from hook (work in the back bump for this row only), *dc in each of the next 5 chs, (dc2tog in next 2 chs) 2x, dc in each of the next 5 chs, 2 dc in each of the next 2 chs; rep from * 5 more times, or until 16 chs remain, dc in next 5 chs, (dc2tog in next 2 chs) 2x, dc in last 7 chs, ch 3 (counts as first dc), turn.
Row 2 (Pattern Repeat Row)

Row 2: Dc in the 1st dc, *dc in each of the next 5 sts, (dc2tog in next 2 sts) 2x, dc in each of the next 5 sts, 2 dc in each of the next 2 sts; rep from * 5 more times, or until 15 sts remain, dc in next 5 sts, (dc2tog in next 2 sts) 2x, dc in next 5 sts, 2 dc in last st, ch 3, turn.
Rows 3–66

Repeat Row 2 for the remainder of the blanket, changing colors as desired. A common approach is switching yarn colors every 2 rows to create even stripes, but any interval works. At the end of the final row, fasten off and weave in the last end.
Color Sequence Tip
Switching colors every 2 rows produces the even striping shown in the photos. For a different look, try switching every row for a tighter stripe pattern, or use a single self-striping yarn to avoid extra ends to weave in.
Finishing
Weave in all loose ends using a tapestry needle. To keep the front of the blanket looking clean, pick one side to treat as the “wrong side” and weave in all ends there — this keeps any small inconsistencies out of view.

How to Customize the Size
Because the stitch pattern is based on a multiple of 16 plus 4, you can resize the blanket in either direction:
- Width: Adjust the starting chain length. Add or subtract multiples of 16 stitches to make the blanket narrower or wider.
- Length: Add or remove rows. Each additional row adds roughly 0.7 in (1.7 cm) to the length, based on the gauge above.
This makes the pattern flexible enough for anything from a baby blanket to a full-size throw.
Frequently Asked Questions
Is this ripple blanket pattern good for beginners?
Yes. As long as you’re comfortable with basic chain and double crochet stitches, this pattern is beginner-friendly. Row 2 repeats for the rest of the blanket, so it becomes easy to follow after the first few repeats.
How many yarn colors do I need?
This version uses three colors, but the pattern works with two colors, a single color, or more than three. Self-striping yarn is also an option if you’d rather avoid extra color changes.
Why does my ripple blanket look uneven?
Uneven waves usually come from a missed increase or decrease. Double-check that the dc2tog decreases and the 2-dc increases are placed in the correct spots in each row, since these create the wave shape.
What yarn works best for a ripple blanket?
Worsted weight (#4) yarn is the most common choice because it shows the stitch pattern clearly and creates a blanket with good drape and warmth. Acrylic, cotton, and yarn blends all work well depending on the texture and care you prefer.
Can I make this pattern a different size?
Yes. Adjust the starting chain in multiples of 16 (plus 4) to change the width, and add or remove rows to change the length.