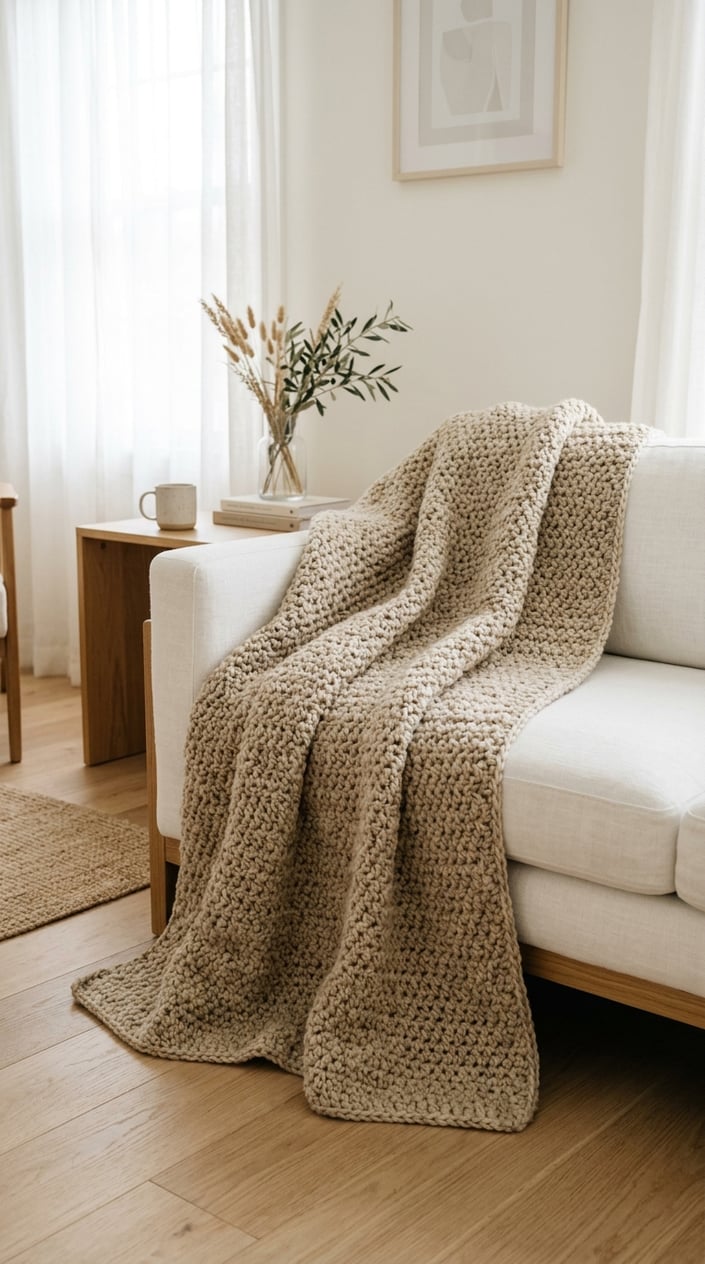
Simply Soft Crochet Blanket — Flower Granny Square Pattern

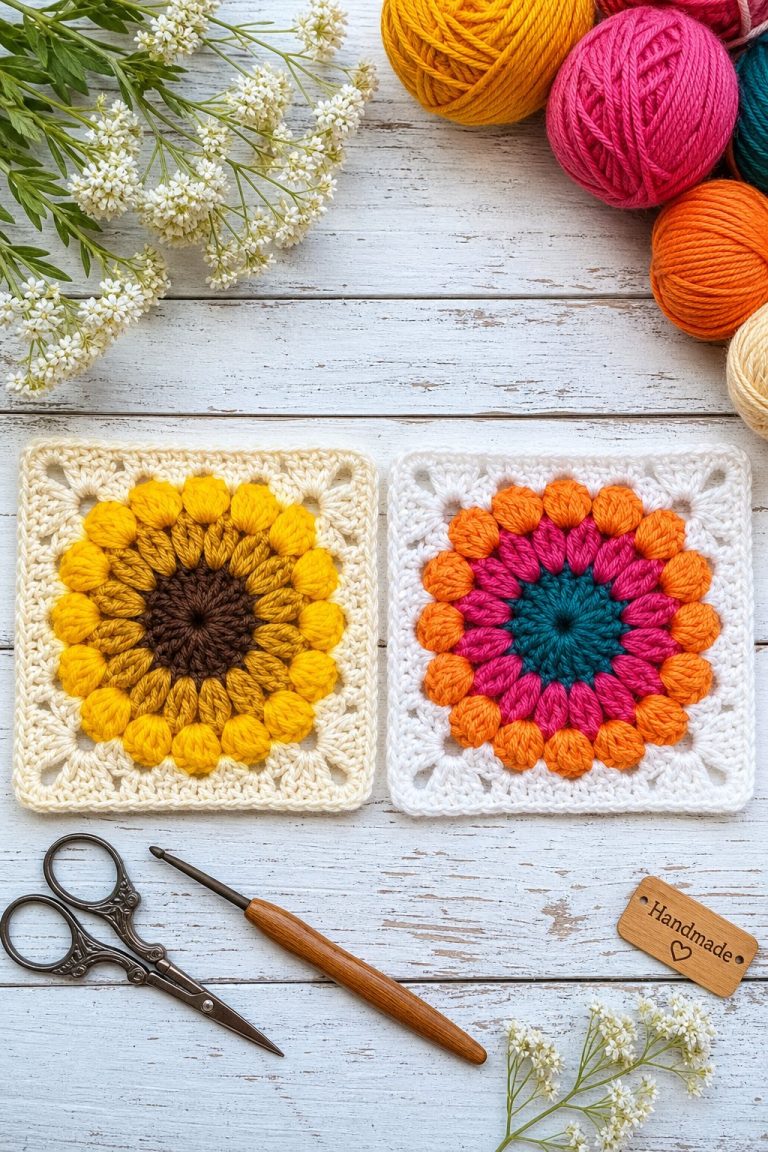
This crochet blanket is built from soft, dimensional flower squares finished with a decorative shell border, then joined into a full-size throw. Each square uses a mix of double crochet, half double crochet, and two textured puff stitch variations to create the raised flower center and petal shape. The pattern below walks through every round in detail, plus full assembly and edging instructions.
Why This Pattern Works
Each square is worked in three color rounds — a base color, a flower color, and a petal/border color — which makes it easy to mix and match palettes without changing the stitch pattern itself. Because the blanket is built from individual squares rather than one continuous piece, it’s also easy to resize: add or remove squares to make anything from a lapghan to a full bed blanket.
Skill Level & Terms
- Skill level: Intermediate (the puff stitch variations take a little practice, but are fully explained below)
- Written in US crochet terms
- Square size: approximately 8 in x 8 in (20 x 20 cm) using worsted weight yarn and a 5 mm (US H) hook
Materials Needed

- Worsted weight (#4) yarn in 3 colors, plus a 4th color for the edging (see yardage below)
- 5 mm (US H) crochet hook
- Scissors
- Yarn needle
- Tapestry needle
- Stitch marker
Yarn Amounts (for a 3×3 square blanket, approx. 30 in x 30 in / 76 x 76 cm)
| Color | Role | Amount |
|---|---|---|
| Color 1 (C1) | Flower center | ~52 yds (48 m) |
| Color 2 (C2) | Petals | ~208 yds (190 m) |
| Color 3 (C3) | Square background & border | ~270 yds (245 m) |
| Edging color | Final border | ~122 yds |
This yardage is enough for 9 squares arranged in a 3×3 grid. To make a larger blanket, calculate your total square count first (width squares × length squares), then scale the yarn amounts proportionally.
Abbreviations
| Abbreviation | Meaning |
|---|---|
| ch(s) | chain(s) |
| dc | double crochet |
| hdc | half double crochet |
| sl st | slip stitch |
| st(s) | stitch(es) |
| sp | space |
| RS | right side |
| mc | magic circle |
| ps | puff stitch |
| modified ps | modified puff stitch (fewer loops — see explanation below) |
| FO | fasten off |
Two Stitches You’ll Need to Know First

Both stitches are worked into the same starting point but pull up a different number of loops before completing. Practice these on a scrap first if you’re new to puff stitches.
Modified Puff Stitch (Rnd 2)
- Yarn over, insert hook into the stitch
- Yarn over, pull up a loop (3 loops on hook)
- Yarn over, insert hook into the same stitch again
- Yarn over, pull up another loop (5 loops on hook)
- Yarn over, pull through all 5 loops to complete
Full Puff Stitch (Rnd 3)
- Yarn over, insert hook into the next stitch
- Yarn over, pull up a loop (3 loops on hook)
- Yarn over, insert hook into the same space, pull up another loop (5 loops on hook)
- Repeat step 3 three more times (11 loops on hook total)
- Yarn over, pull through all 11 loops to complete
Step 1: Crochet the Squares (make 9)
Work each square using C1 first, then switch colors as instructed. Fasten off and cut yarn between color changes.
Note: Each full repeat of Rounds 1–8 makes one square
Round 1 (C1): In a magic circle, ch 3 (does not count as a stitch), work 16 dc into the ring. Join to the first dc with a sl st. (16 sts)
Round 2 (C1): Extend the loop on your hook to about ½ inch so it doesn’t tighten while you work. Work (modified puff stitch, ch 1) into each stitch around. Sl st to join. (16 puff sts) Fasten off C1, switch to C2.
Round 3 (C2): Attach C2 into any ch-1 space from Round 2. Extend the loop on your hook again. Work (full puff stitch into the ch-1 space, ch 2) around. Sl st to join. (16 puff sts)
Round 4 (C2, still): Sl st into the next ch-2 space. Ch 8, sc into the same ch-2 space, then (ch 3, sc into the next ch-2 space) 4 times. Repeat from * around 3 more times.
Round 5 (C2, still): Sl st through the first 4 chains of the first ch-8 space. Work (ch 4, dc 5) into that same ch-8 space. Sc into the next ch-3 space, (dc 5 into the next ch-3 space) twice, sc into the next ch-3 space, then (dc 5, ch 2, dc 5) into the next ch-8 corner space. Repeat from * around 3 more times. At the final ch-8 space, work 5 dc on top of your starting slip stitches, then join with a sl st to the top of your starting ch-4. Fasten off C2, switch to C3.
Round 6 (C3): Attach C3 into any ch-2 corner space. Work (ch 2, sc) into that same space. Sc 3, hdc, dc 3, hdc, sc 6, hdc, dc 3, hdc, sc 3, then (sc, ch 1, sc) into the next ch-2 corner space. Repeat from * around 3 more times. Sc into your very first ch-1 corner space, then sl st to the beginning ch-2 to join.
Round 7 (C3, still): Work (ch 5, dc 2) into the first corner space. Dc in every stitch until you reach the next corner, then work (dc 2, ch 2, dc 2) into that ch-1 corner space. Repeat from * around 3 more times. Work dc 2 into your very first corner space, then sl st to your starting ch-5 to join. (112 dc total)
Round 8 (C3, still): Sc 2 into the first ch-2 corner space, then sc into the next 28 stitches. Repeat from * around 3 more times. Join with a sl st. Fasten off and weave in ends.
Repeat all 8 rounds until you have 9 completed squares (or however many your blanket size requires).

Step 2: Assemble the Blanket
Squares are joined by hand using a whip stitch, worked with the wrong sides of both squares facing each other. Using a contrast color yarn while learning makes it easier to see your stitches, though your final border color also works well.
- Place two squares together, wrong sides facing each other.
- Thread your yarn needle and insert it through the corner stitch of both squares from the front (right side).
- Insert the needle through the matching corner stitch on the second square, pulling from the back through to the front, and pull snug enough to bring both corners together.
- Move to the next stitch along the edge and insert the needle through the front of the first square again.
- Insert through the matching stitch on the second square from the back to the front. Pull evenly — not too tight — so your stitches form small, uniform diagonal bars.
- Continue whip stitching along the full edge until the row of squares is joined.
- Join all squares horizontally first to form rows, then join the completed rows together vertically.
- Fasten off after each seam and weave in all ends as you go.

Step 3: Crochet the Border
The finishing border is worked in single crochet in continuous spiral rounds — no joining slip stitch needed between rounds. You can use your main square color or any accent color for this step.
- Insert your hook into any stitch along the blanket’s outer edge to begin.
- Round 1: Single crochet around the entire blanket. At each corner, work (sc, ch 1, sc) into the corner space to turn neatly. Continue in a spiral — do not join with a slip stitch.
- Rounds 2–6: Repeat the same single crochet pattern, working the corner increase at each round, until your border reaches the width you’d like.
- Use a stitch marker to mark the start of each new round so you can keep track of your progress.
- Fasten off and weave in your final ends.
Color Palette Ideas
Since each square only needs 3 colors plus a border color, this pattern is easy to customize:
- Bold combination: deep gold, seafoam, and lavender (as shown in the photos)
- Soft neutral option: sage green, periwinkle, and light peach — a gender-neutral choice that works well for baby blankets
- Warm neutral option: rust/sienna, bone, and off-white for an earth-toned nursery look
Finished Measurements
A 3×3 square blanket, including the single crochet border, measures approximately 30 in x 30 in (76 x 76 cm). To make a larger throw, add more squares in either direction — each additional square adds roughly 8 in to that dimension before the border is added.

Frequently Asked Questions
What’s the difference between the modified puff stitch and the regular puff stitch?
The modified version pulls up loops from only 2 insertions into the stitch (5 loops total), while the full puff stitch pulls loops from 4 insertions into the same space (11 loops total), creating a taller, fuller texture used for the petals.
Can I make a smaller or larger blanket with this pattern?
Yes. Since the blanket is built from individual squares, you can arrange any number of squares in any grid — a 2×3 lap blanket, a 4×5 throw, or a 5×6 bed-sized blanket — just adjust your total yarn amount based on how many squares you plan to make.
Do I need to join every round with a slip stitch?
Only the square rounds (1 through 8) are joined with a slip stitch. The final border is worked in a continuous spiral with no joins, which helps avoid a visible seam line.
What yarn works best for this pattern?
Worsted weight (#4) acrylic yarn is a good match for this pattern’s stitch definition and drape, and it’s easy to care for. Cotton or acrylic blends also work well if you prefer a different feel.