Free Center Out Crochet Blanket Patterns

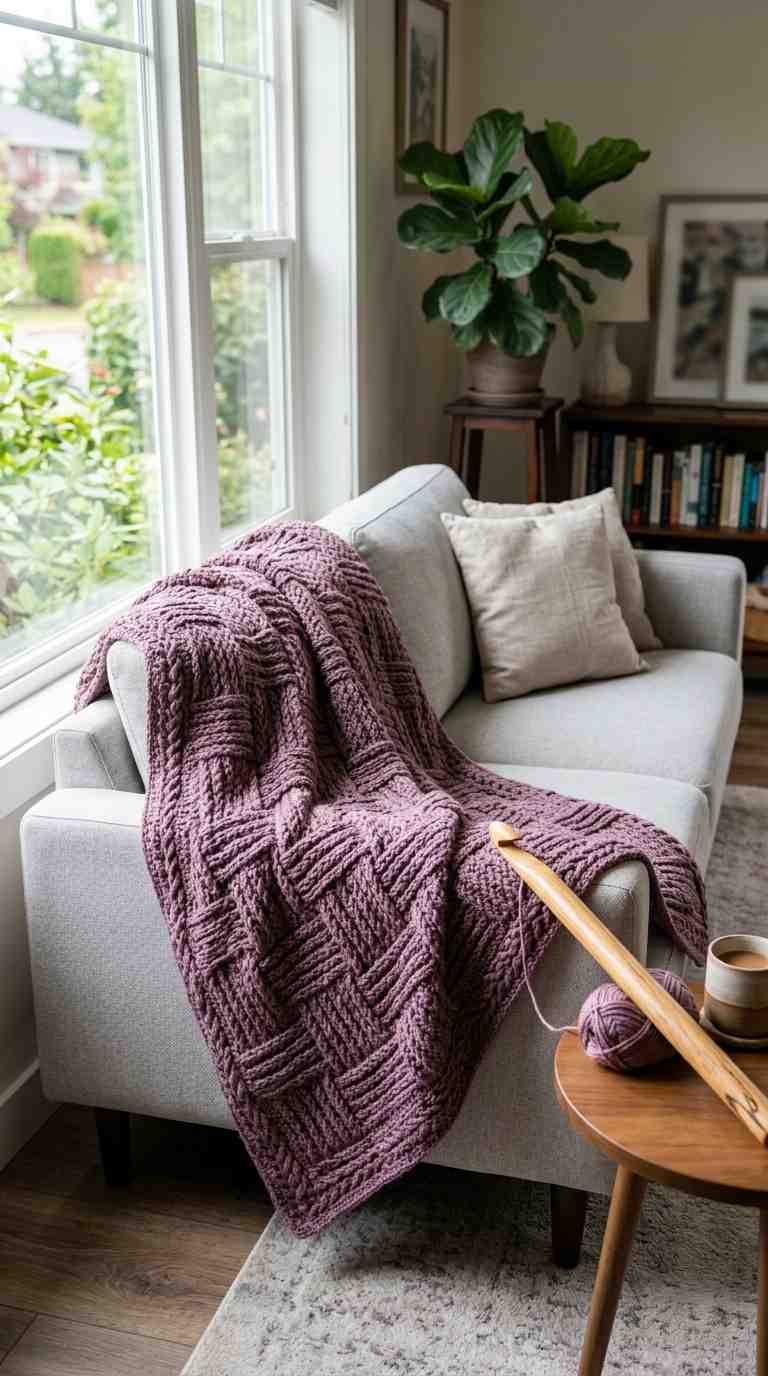
This blanket starts at the center and grows outward in rounds, using a textured granny spike stitch that creates a beautiful woven-look pattern across multiple colors. It’s a great project if you enjoy colorwork, since the spike stitches let each round’s color peek through the rounds below it.
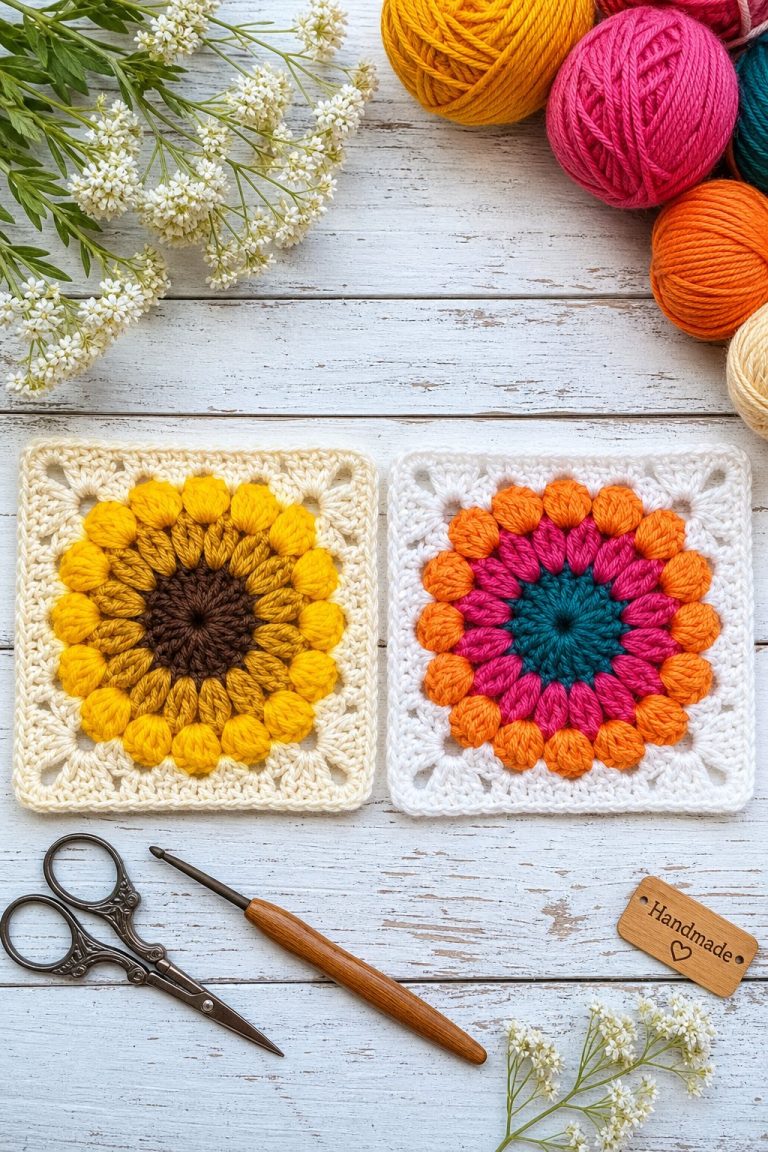
Want a blanket with a softer, floral look?
🌸 Flower Granny Square Cozy Flower Granny Square Crochet Pattern Free pattern →About This Design
This is a center-start rectangle blanket, meaning you begin with a foundation chain and work outward in rounds rather than back-and-forth rows. The technique used here — the granny spike stitch — is a variation of basic double crochet where you reach down into a stitch from two rounds below and pull up an extended loop, creating a raised, textured spike.
Tip: Keep your foundation chain loose rather than tight. This lets the center of the blanket stretch and lie flat as you add rounds — a tight foundation chain is one of the most common causes of a blanket that cups or puckers in the middle.
Because this pattern uses spike stitches that reach into the round below, it looks especially striking when you alternate colors every 2 rounds. You’ll need at least 2 yarn colors to see the spike stitch effect, though self-striping yarn also works beautifully if you’d rather avoid extra color changes.
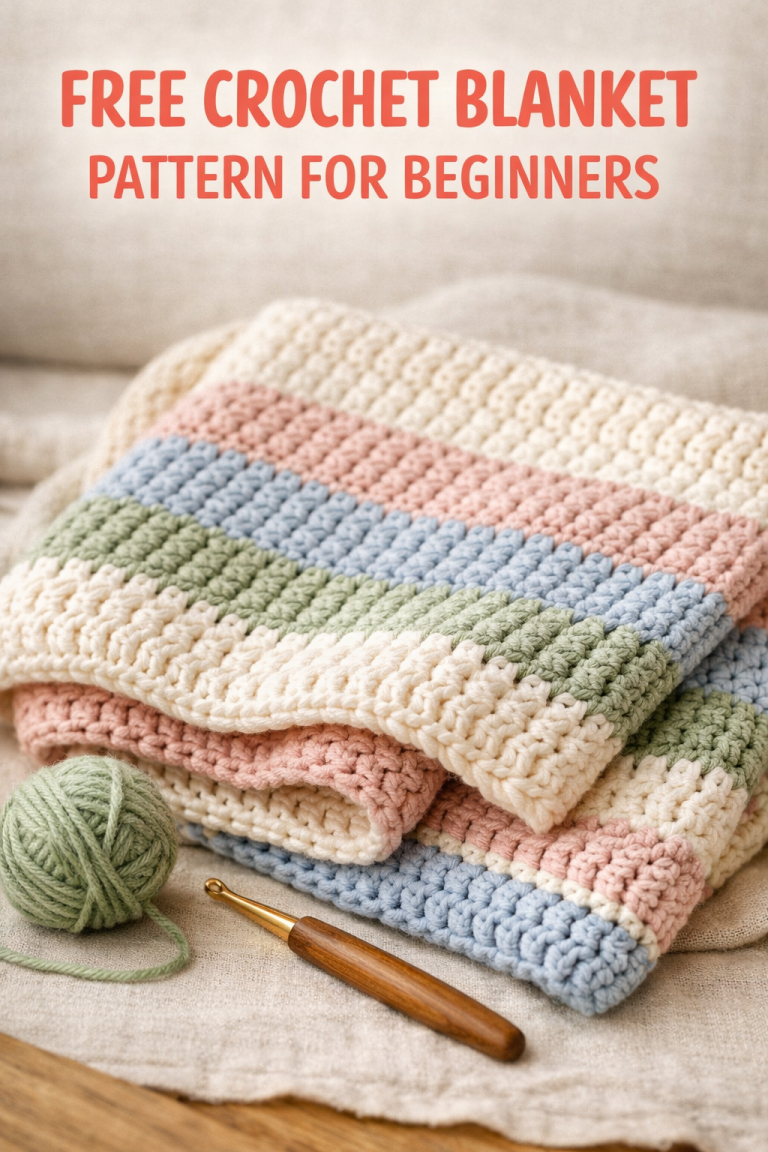
Prefer a classic wave stitch instead?
🌊 Ripple Blanket Ripple Blanket Crochet Pattern See this pattern →Skill Level & Pattern Notes
- Skill level: Intermediate
- Written in US crochet terms
- Gauge: 12 dc x 6 rows = 4 in (10 cm)
- Finished size: approximately 35 in x 47 in (89 x 119 cm), including edging — fully customizable by adding more rounds
- Estimated time: about 8 hours
Materials Needed
- Approximately 1,442 yds (1,329 m) of medium weight (#4) yarn across 4 colors
- 5 mm (US H) crochet hook
- Stitch marker (optional, helps track your stitch count)
- Scissors
- Tapestry needle
Yarn tip: If weaving in a lot of ends isn’t your favorite part of a project, this pattern also looks fantastic worked in a self-striping yarn — you’ll get the same color-shifting effect without the extra color changes.

Abbreviations
| Abbreviation | Meaning |
|---|---|
| ch(s) | chain(s) |
| dc | double crochet |
| sl st | slip stitch |
| sp(s) | space(s) |
| st(s) | stitch(es) |
| spike sc | spike single crochet (see Special Stitches) |
| spike dc | spike double crochet (see Special Stitches) |
| picot st | picot stitch (see Special Stitches) |
| { } and * | repeat the instructions between braces or after the asterisk as directed |
| [ ] | stitch count at the end of a round |
Special Stitches — Explained Step by Step
These three stitches are what give this blanket its signature texture. Take a moment to get comfortable with each before starting your foundation round.
Spike Single Crochet (spike sc)
- Insert your hook into the center of the double crochet stitch two rounds below your current row
- Yarn over and pull up an extended loop (long enough to reach your working row without pulling tight)
- Yarn over again and complete the stitch as a normal single crochet
Spike Double Crochet (spike dc)
- Yarn over
- Insert your hook into the center of the double crochet stitch two rounds below
- Yarn over and pull up an extended loop
- Yarn over again and complete the stitch as a normal double crochet
Tip: Pull your spike stitch loop up to match the height of the surrounding double crochet stitches. If the spike is too short, it will pucker; too long, and it will look loose or sloppy. Aim for the same height as the stitches directly next to it.

Picot Stitch (picot st)
- Chain 3
- Slip stitch into the 3rd chain from your hook
Ready to try a fun 3D project next?
🦎 Amigurumi Chameleon This Amigurumi Chameleon Crochet Pattern Is Beginner Friendly Grab the pattern →Granny Spike Stitch Cluster
This is the main repeating unit of the blanket body: a group of 3 double crochet stitches worked into the space between two clusters, where the center stitch of the group is a spike dc worked into the center double crochet two rounds below.
Want to master the basics first?
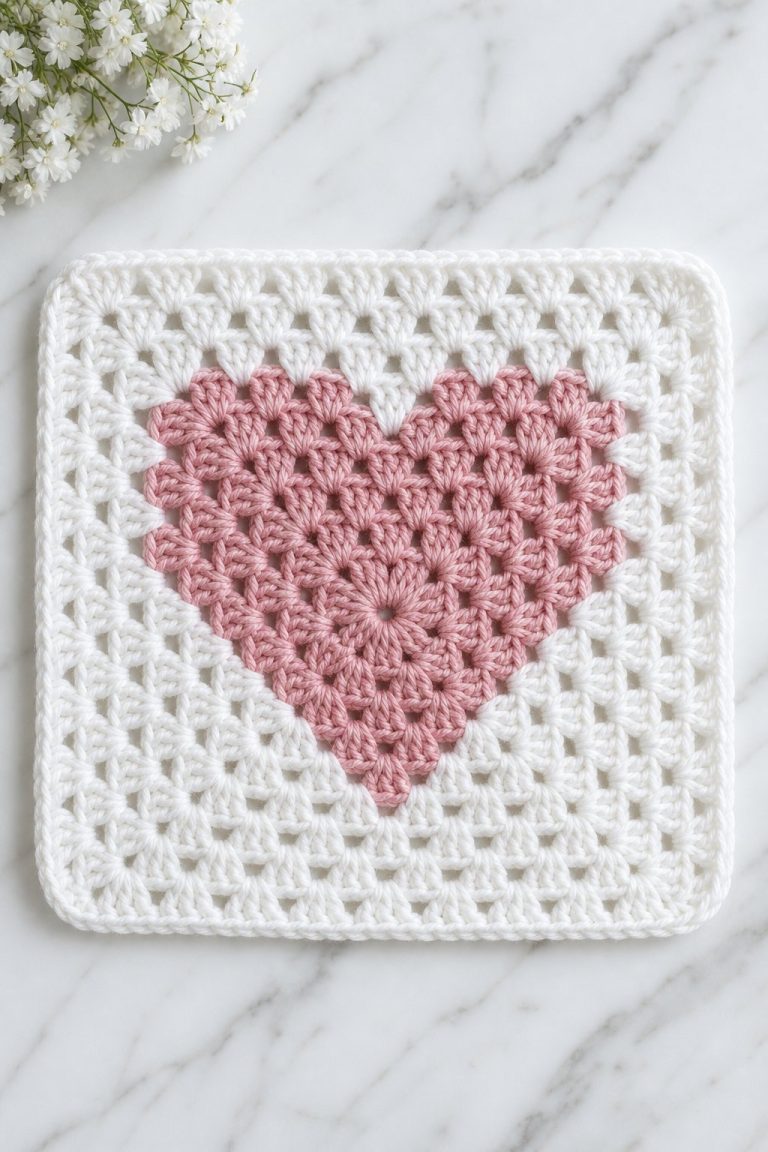
🟪 Granny Square Beginner-Friendly Granny Square Crochet Pattern Try this one →Foundation Chain
Chain 39, plus 3 more chains (42 total), as your starting point.
Note: The pattern is built on multiples of 4 chains plus 3. Chaining more than 39 will make a wider starting blanket, but 39 is the recommended maximum starting point — going beyond this can cause the blanket to look narrow in proportion once you’ve added several rounds.

Round-by-Round Instructions
Round 1
Work (3 dc, ch 1, 3 dc) into the 5th chain from your hook — this establishes your first two corners. Dc into the back bump of every chain across until 1 chain remains. In that last chain, work {(3 dc, ch 1) 2 times, 3 dc} — this establishes your 3rd and 4th corners. Continue working dc into the opposite loops of your foundation chain back toward the start. In the very first chain (where your first corner sts were placed), work 3 dc. Join with a sl st to your starting ch-4 space. [84 dc]
Round 2
Ch 4, then work 3 dc into that same ch-4 space. Skip 3 sts, then work (3 dc, ch 1, 3 dc) into the next ch space. Repeat {skip 3 sts, 3 dc into the next stitch} until 3 stitches remain before the next ch-1 space. Skip those 3 sts, then work (3 dc, ch 1, 3 dc) into the next ch-1 space — do this twice. Repeat the bracketed sequence one more time. Work 3 dc into the same space as your starting ch-4, then join with a sl st.
Round 3 (This Is Your Repeat Round)
Ch 4, work 3 dc into that same ch-4 space. Work a granny spike stitch cluster all the way to the next corner. *At each corner, work (3 dc, ch 1, 3 dc), then work granny spike stitch clusters to the next corner. Repeat from * around the entire blanket. Finish with 3 dc into the ch-4 space where your first stitches were made, then join with a sl st.
Important: This is the round you’ll repeat for the rest of the blanket, so make sure you’re comfortable with the spike stitch cluster before continuing. Every round from here forward follows this exact same structure — only the color and round count change.
Rounds 4–30 (or as many as you’d like)
Repeat Round 3’s instructions for each additional round. Since this blanket is built outward in rounds, you control the final size entirely by how many rounds you work — stop earlier for a baby blanket or lapghan, or keep going for a full bed-sized throw.

Looking for a project beyond blankets?
🧶 Crochet Carpet 15 Stylish Crochet Carpet Pattern Ideas Click to see →Crocheting the Edging
The border is worked in 2 simple rounds: one round of spike single crochet for texture, and a second round of picot stitches for a decorative finished edge.

Edging Round 1
Attach your yarn at any corner. Ch 2, then sc into that same corner space. Sc into the next 3 sts, then (spike sc, sc into the next 2 sts) repeating until you reach the next corner. At the corner, work (sc, ch 1, sc) into the corner space. Repeat from * around the entire blanket, then join with a sl st to your starting ch-2.
Edging Round 2
Sc into the next 3 sts, working a picot stitch into every 3rd stitch, all the way around.
One more amigurumi to fall in love with:
🐱 Amigurumi Cat Amigurumi Cat Crochet Pattern Perfect for Beginners Explore pattern →Finishing
Cut your yarn and fasten off. Use your tapestry needle to weave in all remaining ends securely.
Your center-out crochet blanket is complete!

Frequently Asked Questions
What is a center-out crochet blanket?
A center-out crochet blanket is worked from the middle outward in continuous rounds, rather than back and forth in rows. This technique can be used to create round, square, or rectangular blankets, and it’s what allows this pattern’s textured spike stitch design to radiate outward from the center.
Is this pattern good for beginners?
This pattern is designed for intermediate crocheters, but the granny spike stitch — while it may look complex — is really just a variation of basic double crochet that becomes easy to memorize after a few rounds. If you’re comfortable reading written pattern instructions and can follow a repeat sequence, you can absolutely make this blanket even as a newer crocheter.
What yarn works best for this pattern?
Worsted weight or bulky yarn both work well here. Since the spike stitch technique is designed to show off color changes, this pattern looks especially striking when made with multiple yarn colors — the sample blanket uses four. Self-striping yarn is also a great option if you’d prefer fewer color changes.
How do I make this blanket a different size?
Because this pattern is worked outward in rounds, sizing is simple — just add or remove rounds. Fewer rounds create a smaller lapghan or baby blanket, while more rounds build up to a full throw or bed-sized blanket.
Why does my blanket look narrow or uneven?
This is usually caused by one of two things: a foundation chain that was too long (over the recommended 39 chains) or a foundation chain worked too tightly. A tight starting chain won’t stretch properly as your rounds grow outward, which can cause the center to pucker or the overall shape to look uneven.